Living Room + Kitchen: Plan and Prep
Renovating a kitchen (or any space for that matter) can be a daunting task, but with proper planning and execution, it can transform the your home into a beautiful and functional space. A kitchen renovation can add value to your home, improve your daily living experience, and enhance the aesthetic appeal of your property. In this post, I’ll discuss the various steps involved in renovating a kitchen and main space and provide some tips to make the process smooth and stress-free.
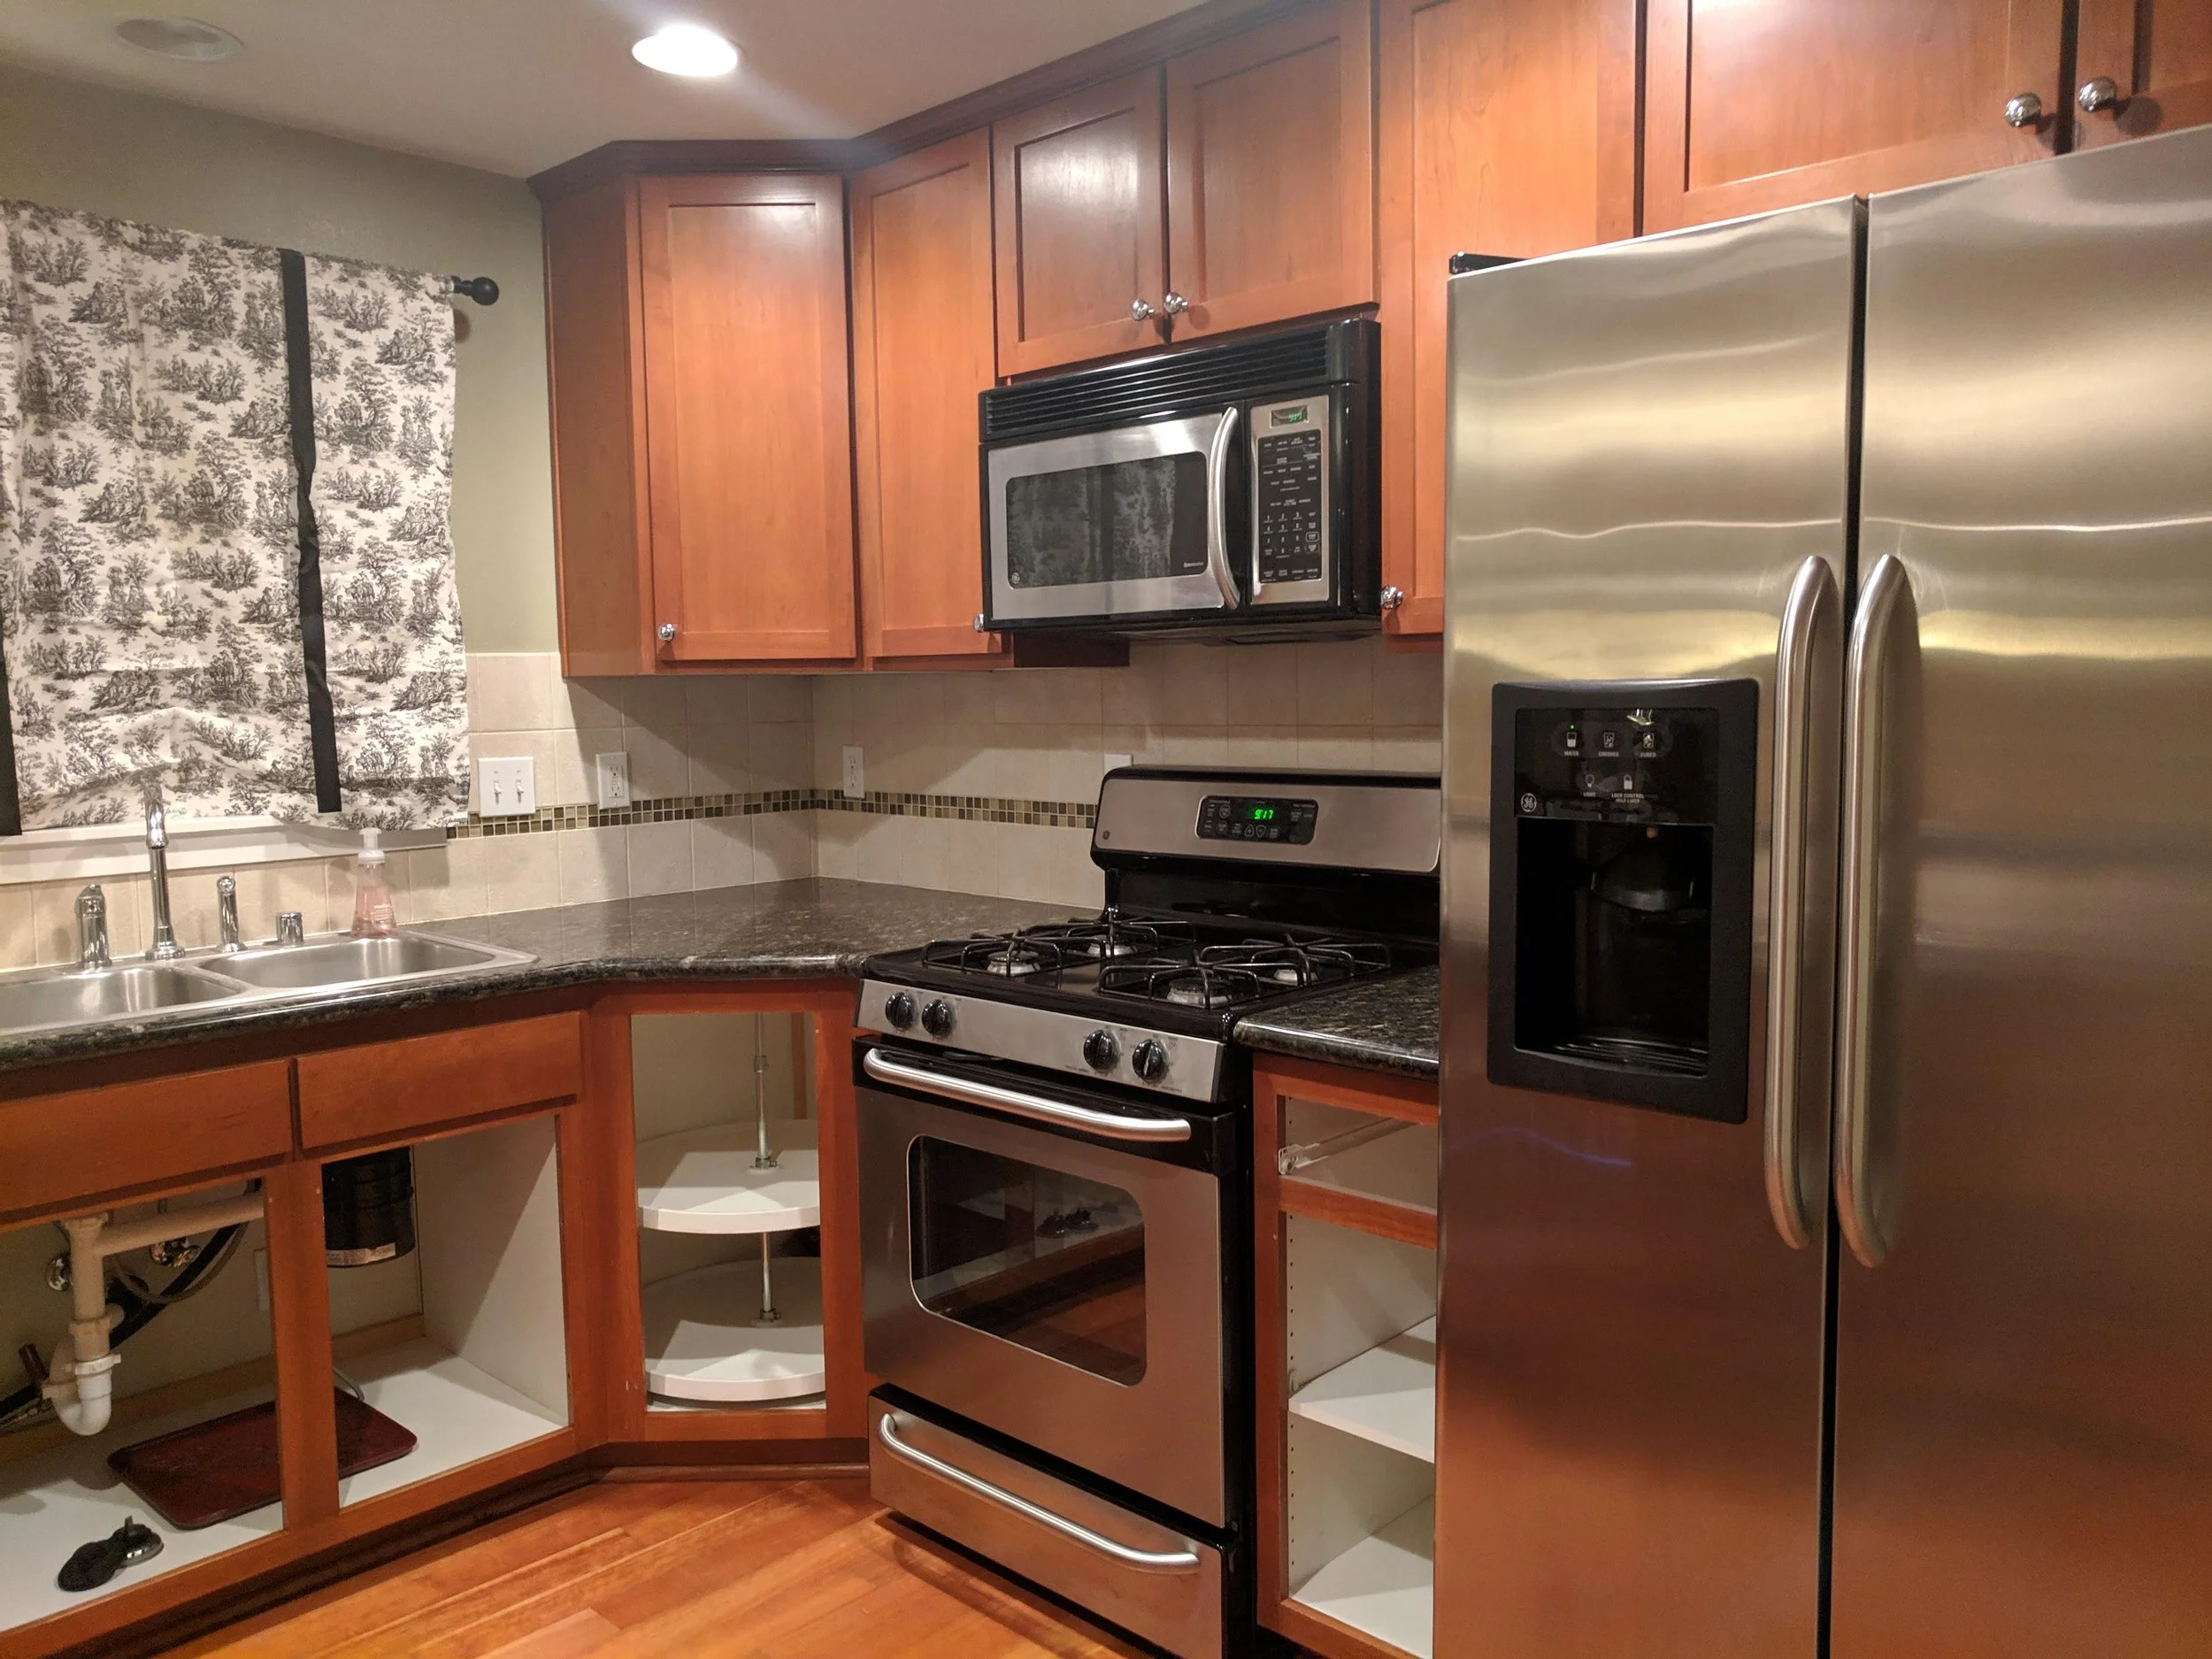
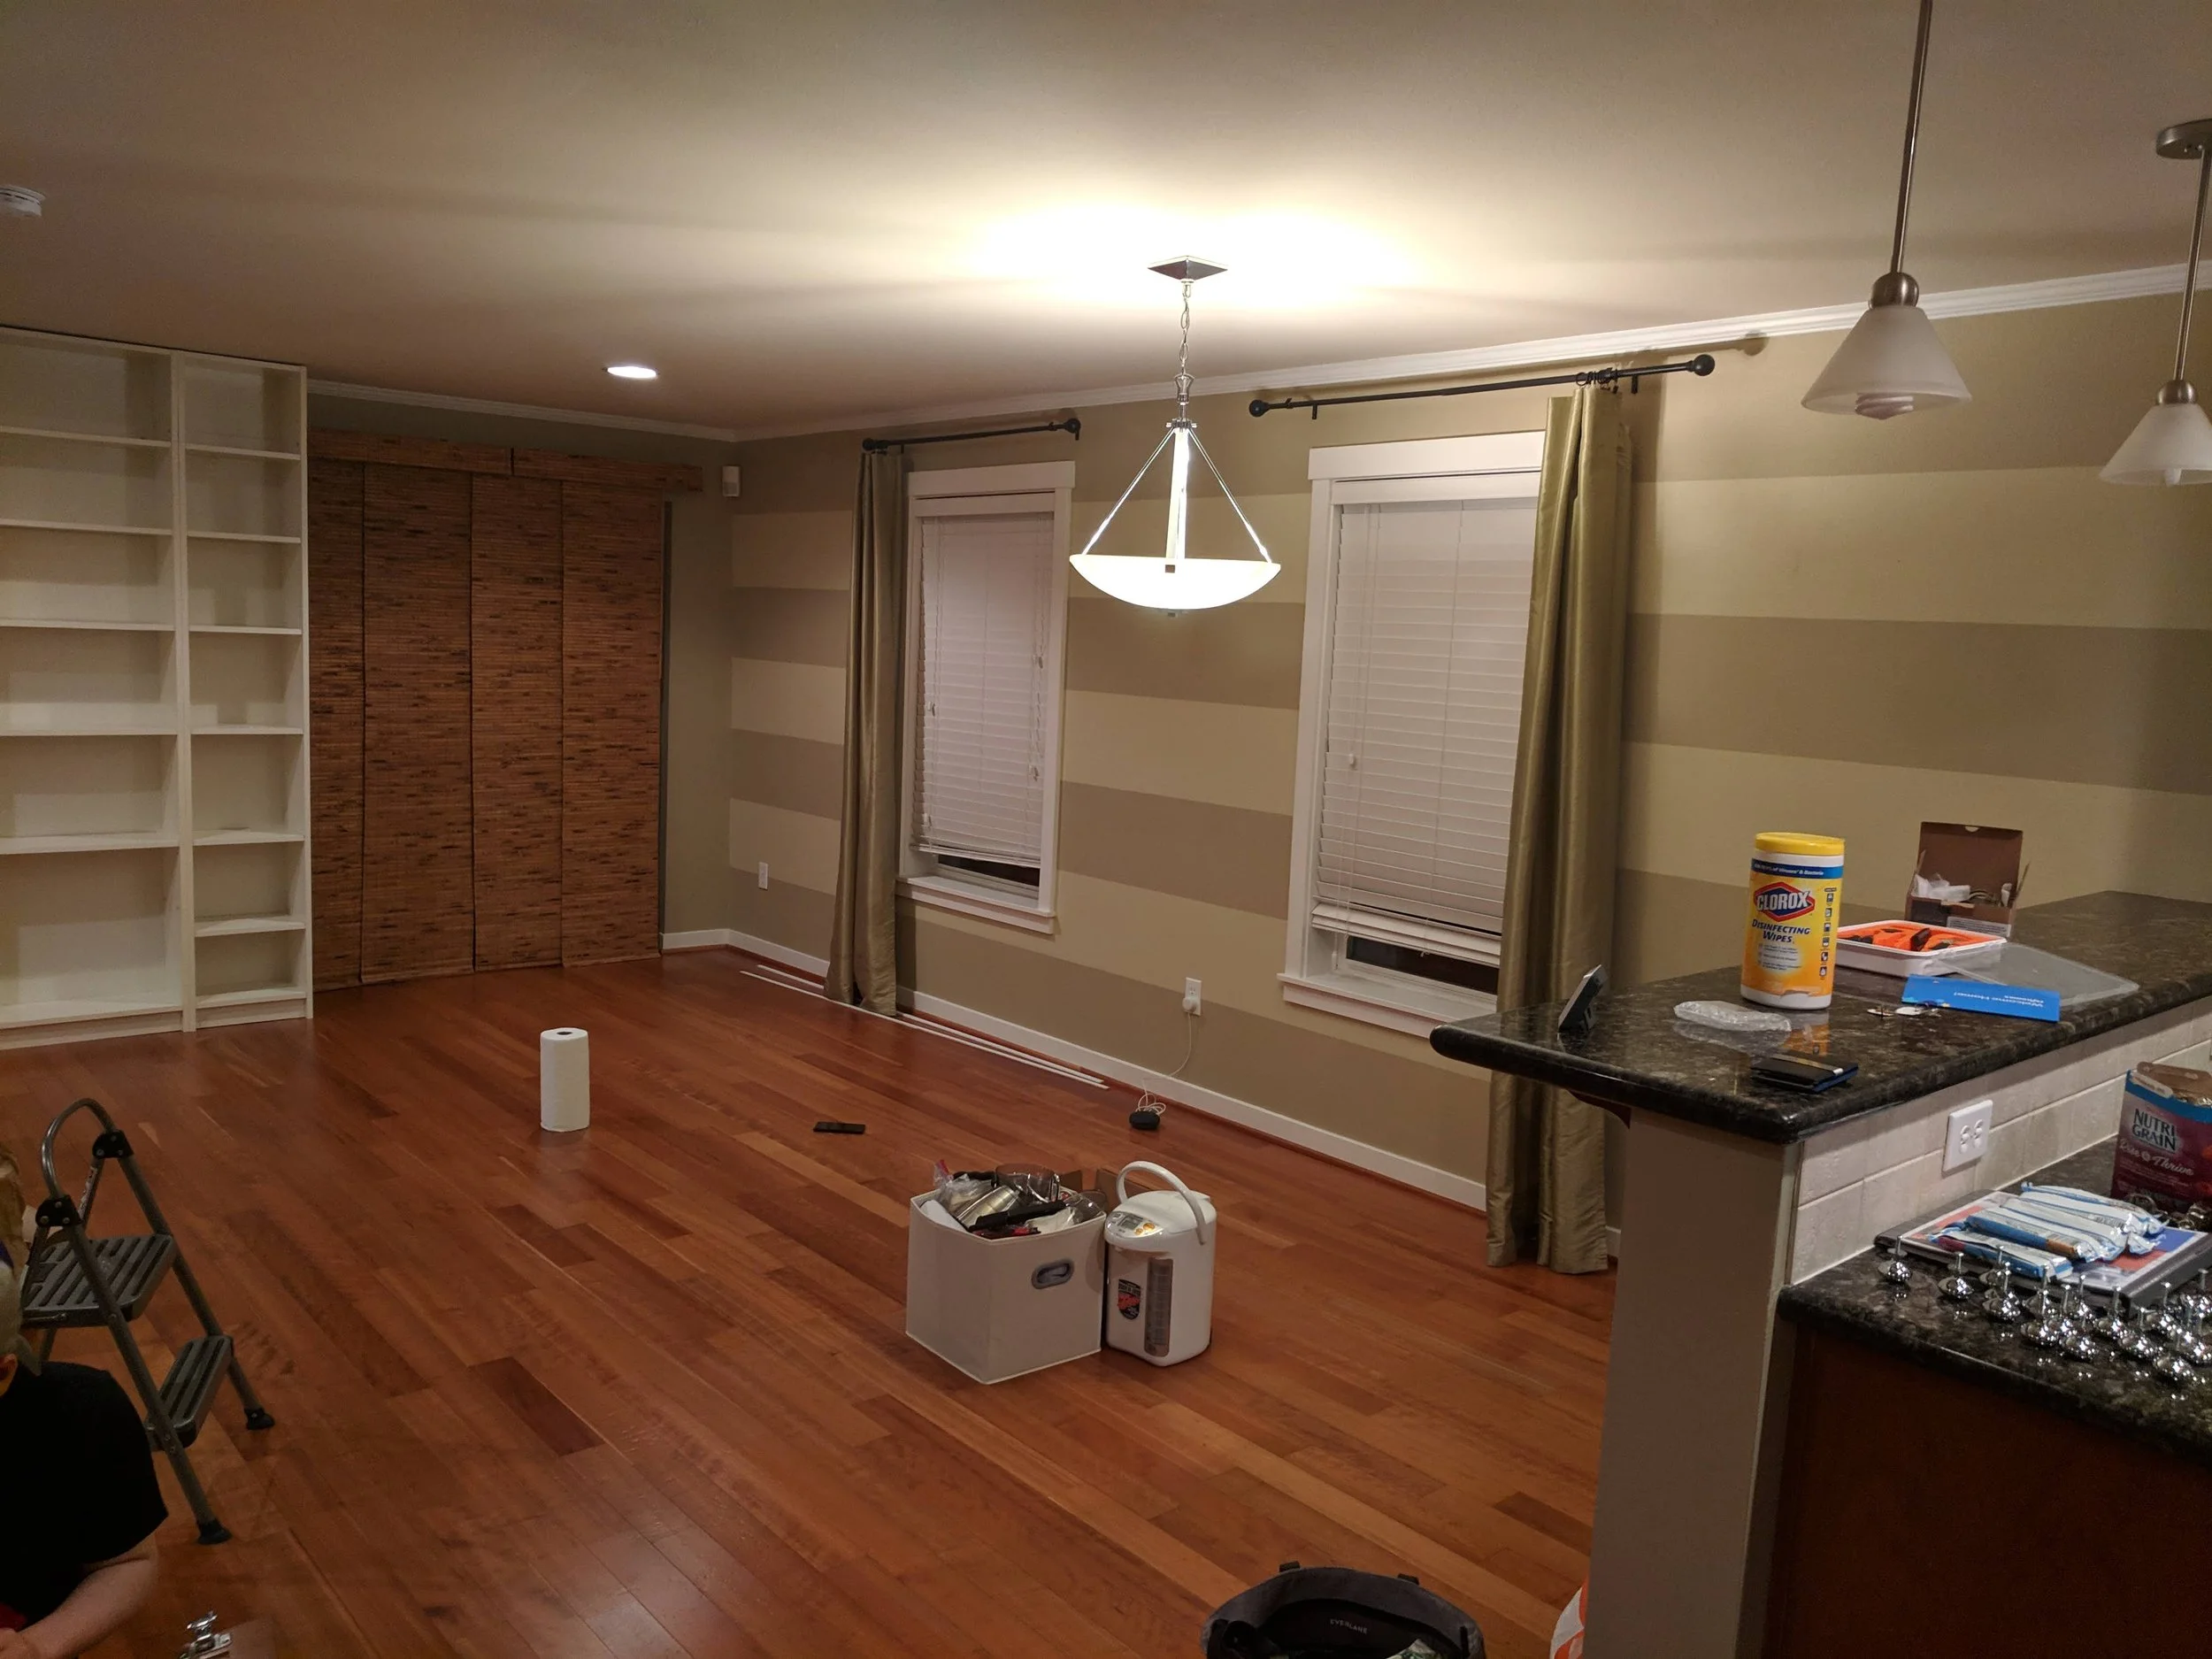
For us, we wanted to stick to a relatively low budget to renovate our space. We didn’t have the time to really change our layout or reposition plumbing before moving in so we decided on updating the space with a new coat of paint, new fixtures and hardware, new flooring and a new tile backsplash.
We stuck mostly to updating existing features and keeping the same layout. Creating a mood board or a Pinterest board is a great way to not only get inspiration but to lock down on the look and feel of a space.
Our must-haves: new engineered wood flooring throughout, new paint, new hardware and fixtures
Our nice-to-haves: new appliances, new sink, new backsplash
Note: one of the advantages of DIY is that a limited budget stretches further since the cost of labor is taken out of the equation. Since we stuck to the same layout and we were doing the work ourselves, we were able to save a lot of money on labor. We decided to splurge a bit on the fixtures and hardware.
As always, if you feel unsure or uncomfortable, a professional contractor will handle this process safely and efficiently.
Step 1: Plan Your Budget
The first step in any renovation project is to establish your budget. Setting a budget will help you determine the scope of your project and guide your decision-making process. When planning your budget, consider factors such as the size of your space, the materials you want to use, and the extent of the renovations you want to make. It is important to be realistic about your budget and stick to it throughout the project.
Step 2: Create a Design Plan
Once you have established your budget, the next step is to create a design plan. Consider the style and layout of your kitchen, and how you want it to look and function. Do you want to install new cabinets, countertops, and appliances? Will you be changing the layout of your kitchen or simply updating the existing features? Make a list of your must-haves and nice-to-haves to help you prioritize your renovation goals. This is a really important step as it will help with outlining material costs/choices and finishes.
Step 3: Choose Your Materials
Choosing the right materials is crucial to the success of your kitchen renovation. Consider the durability, functionality, and aesthetic appeal of each material before making your decision. It’s super easy to get carried away by the beautiful stuff, but this is the time to buckle down and consider your budget. Take your time to research and compare materials to ensure that you choose the right ones for your needs, at the right price.
Step 4: Prepare for the Renovation
Before the renovation begins, it is important to prepare your kitchen and surrounding areas. Clear out your cabinets and drawers, and move any appliances or furniture out of the way. Cover floors and nearby furniture with protective sheets to prevent damage. If you will be without a kitchen for an extended period of time, consider setting up a temporary kitchen in another area of your home.
Step 5: Demolition and Removal
Once your kitchen is prepared, the demolition and removal process can begin. This involves removing existing cabinets, countertops, and appliances depending on your level of change. As always, if you feel unsure or uncomfortable, a professional contractor will handle this process safely and efficiently, ensuring that all debris is removed from the site.
Step 6: Install New Features
With the old features removed, it is time to install new cabinets, countertops, or appliances. With everything removed, this is the best time to handle any plumbing or electrical work that needs to be done. As always, if you feel unsure or uncomfortable, a professional contractor will handle this process safely and efficiently.
Step 7: Finishing Touches
The finishing touches are what really bring your kitchen renovation together. This includes installing new hardware, lighting fixtures, and backsplash. These small details can make a big difference in the overall look and feel of your kitchen.
Renovating a kitchen can be a complex and time-consuming process, but it can be well worth it! Below is the before and check out posts Parts 2 and Part 3 to see progress and final results!


