New Fireplace Surround
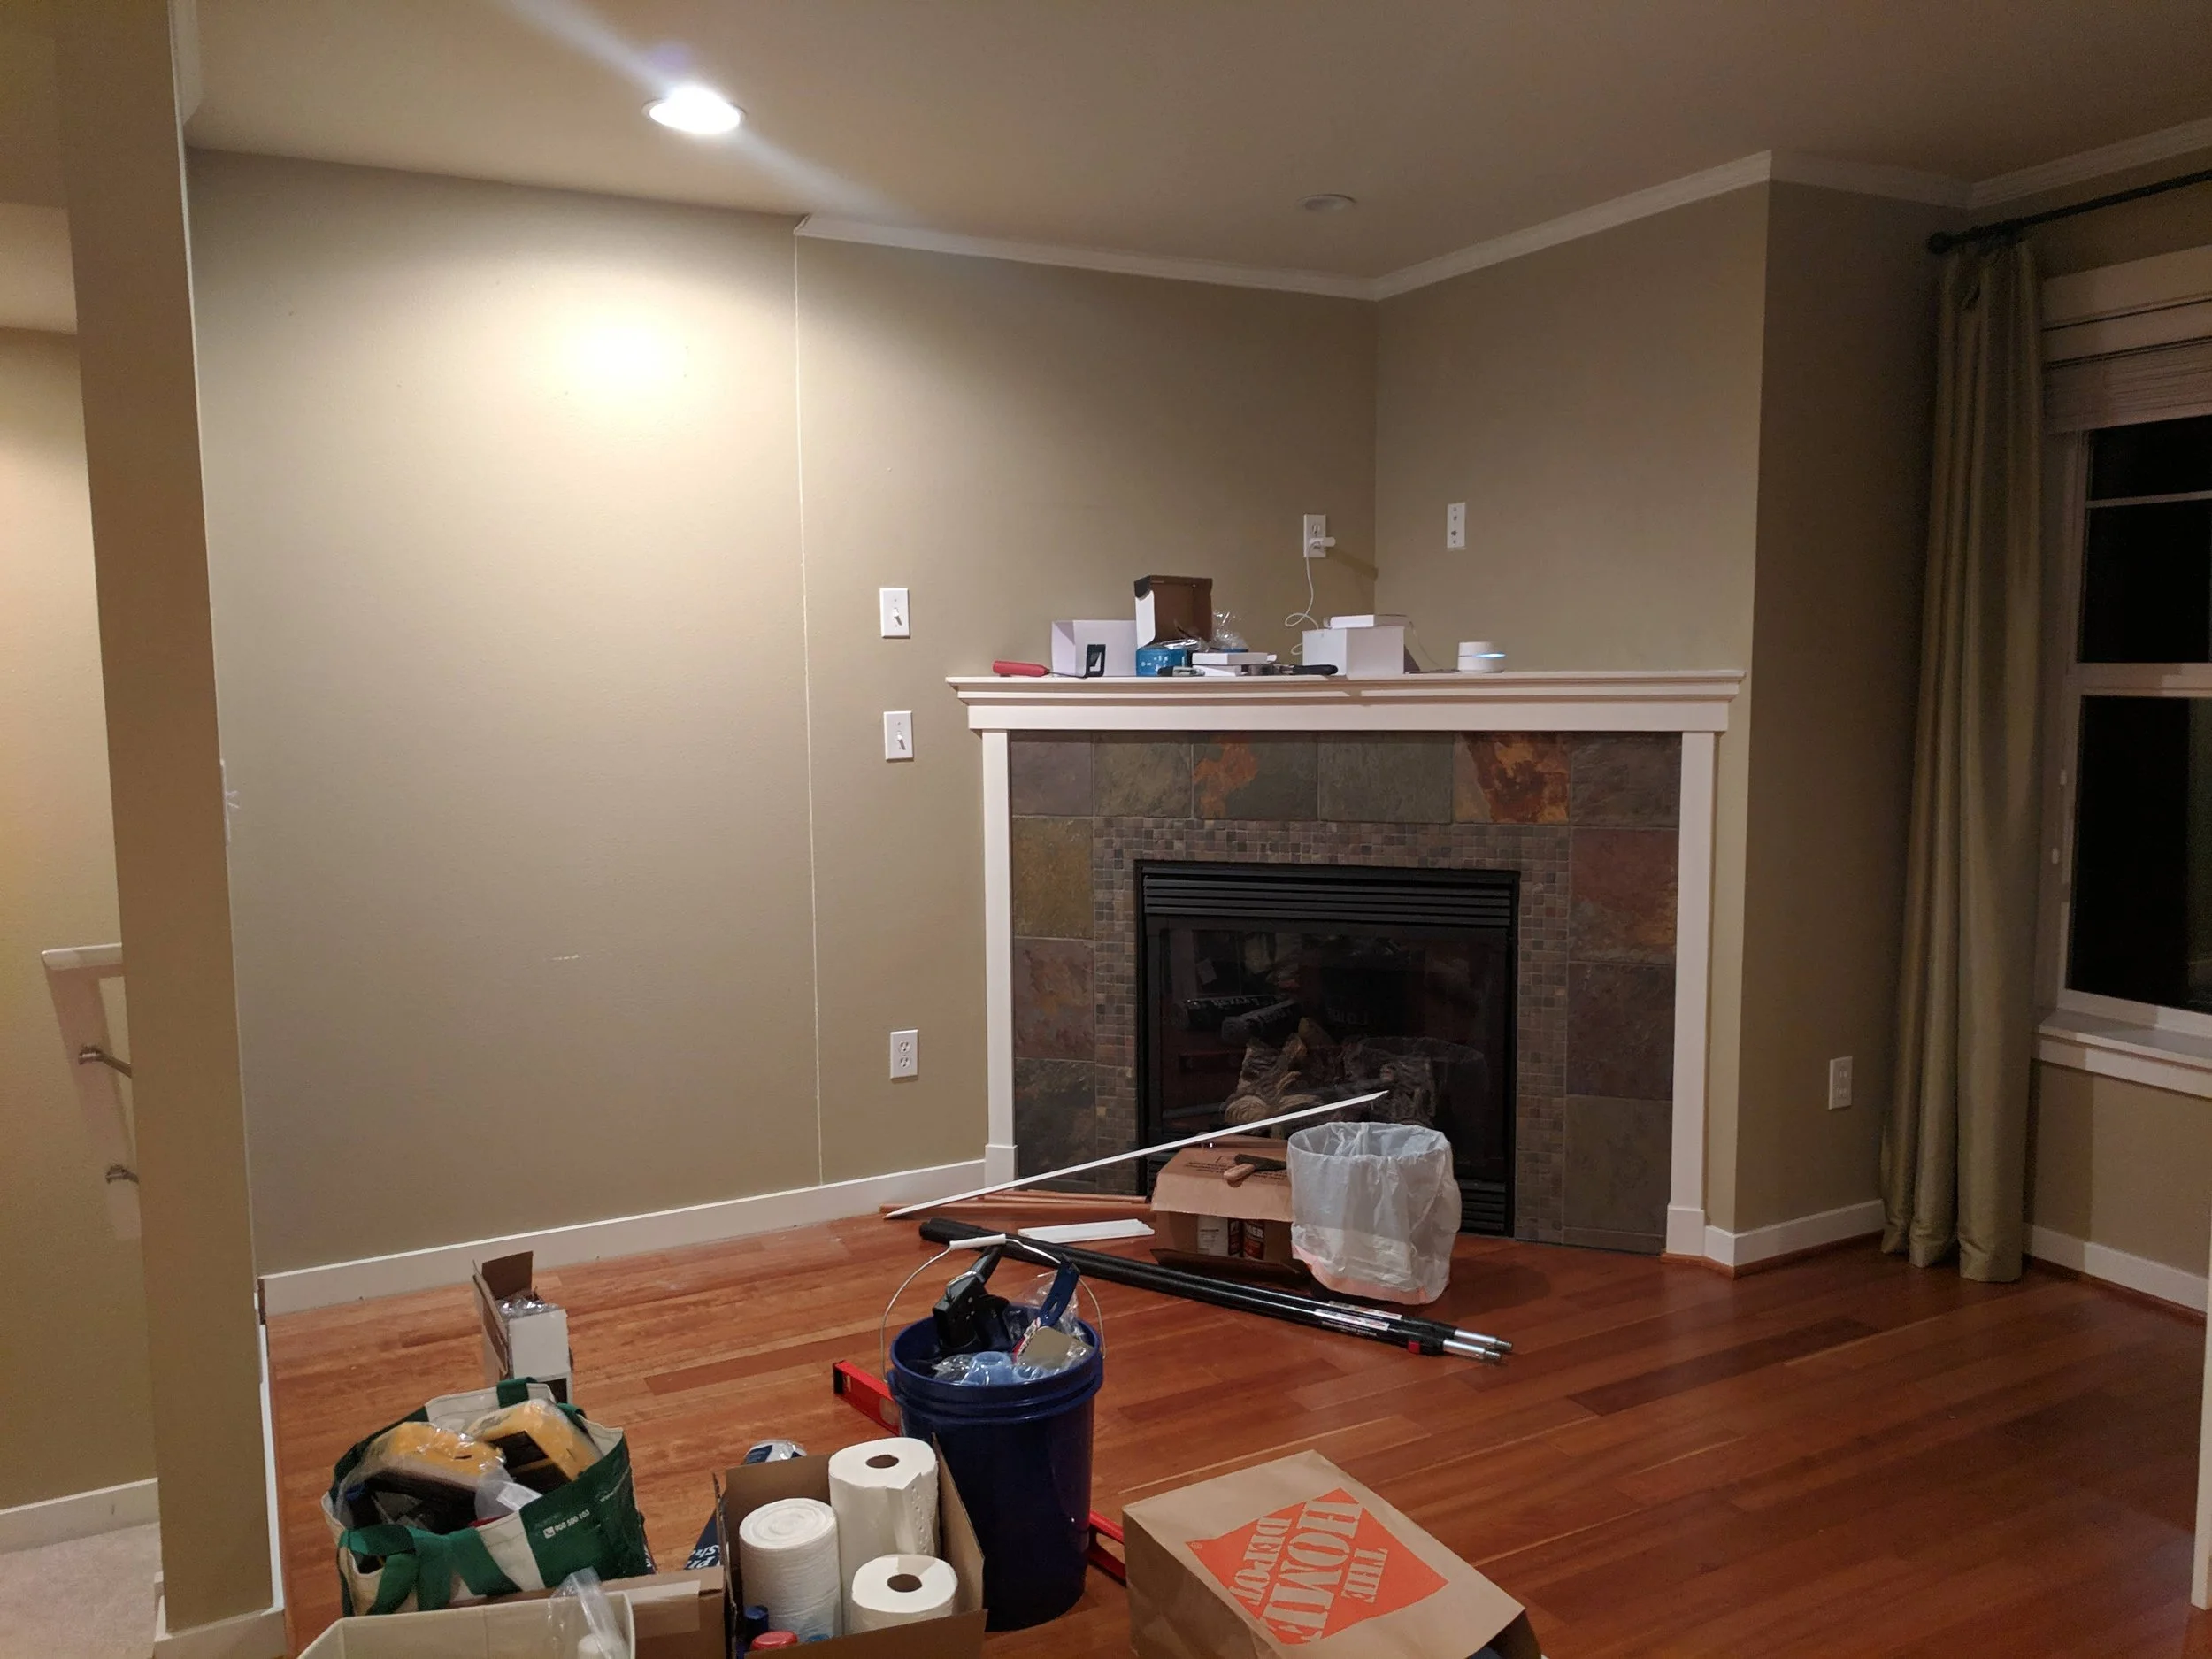
Our fireplace surround was a dark and dated tile which made the corner of the house feel sad. I decided to replace the surround with a brighter tile to brighten up the sad corner.
Measure and plan:
Before you start the replacement process, it's essential to take accurate measurements of your existing fireplace surround. This will give you the dimensions that the new surround will need to be. If the new surround is going to be one built in piece, you can start based off these measurements. For us, we were replacing with a new tile so these measurements gave us the square footage needed to order enough new tile.
Tip: Be sure to add 10% more sq. ft. when ordering tile. This is important because tiles can come broken during delivery or pickup, tiles can sometimes break during cuts, you might drop a tool onto it, etc. You know you’ll have enough to cover these situations rather than having to order more or risk it being out of stock when you need more.
Remove the existing surround:
Prepare the workspace with drop cloths, cardboard, or whatever floor coverings you have to protect the floor. Start by disconnecting any gas lines, electrical connections, or vents, if applicable. Next, remove any trim or molding around the surround. Use a pry bar or hammer to gently loosen the trim and remove it, especially if you are reusing the trim like us. Next, I removed the existing tile surround.
Tip: Try to find a gap along the edge where you can fit more of the pry bar or demo tool to get a bit more leverage.
For our fireplace, the first break broke off the drywall along with the tile. I got lucky because our fireplace was an electric fireplace insert, which meant that the area surrounding the fireplace was just framed 2x4s. The moment drywall broke off with the piece of tile, I had access to the back side of the tile.
Tip: Unless the previous tile install was done improperly, it’s almost always easier to rip off the substrate along with the tile. An improper bond should cause only the tile to pop off with relatively minimal effort. A proper installation basically makes it impossible to take only the tile off.
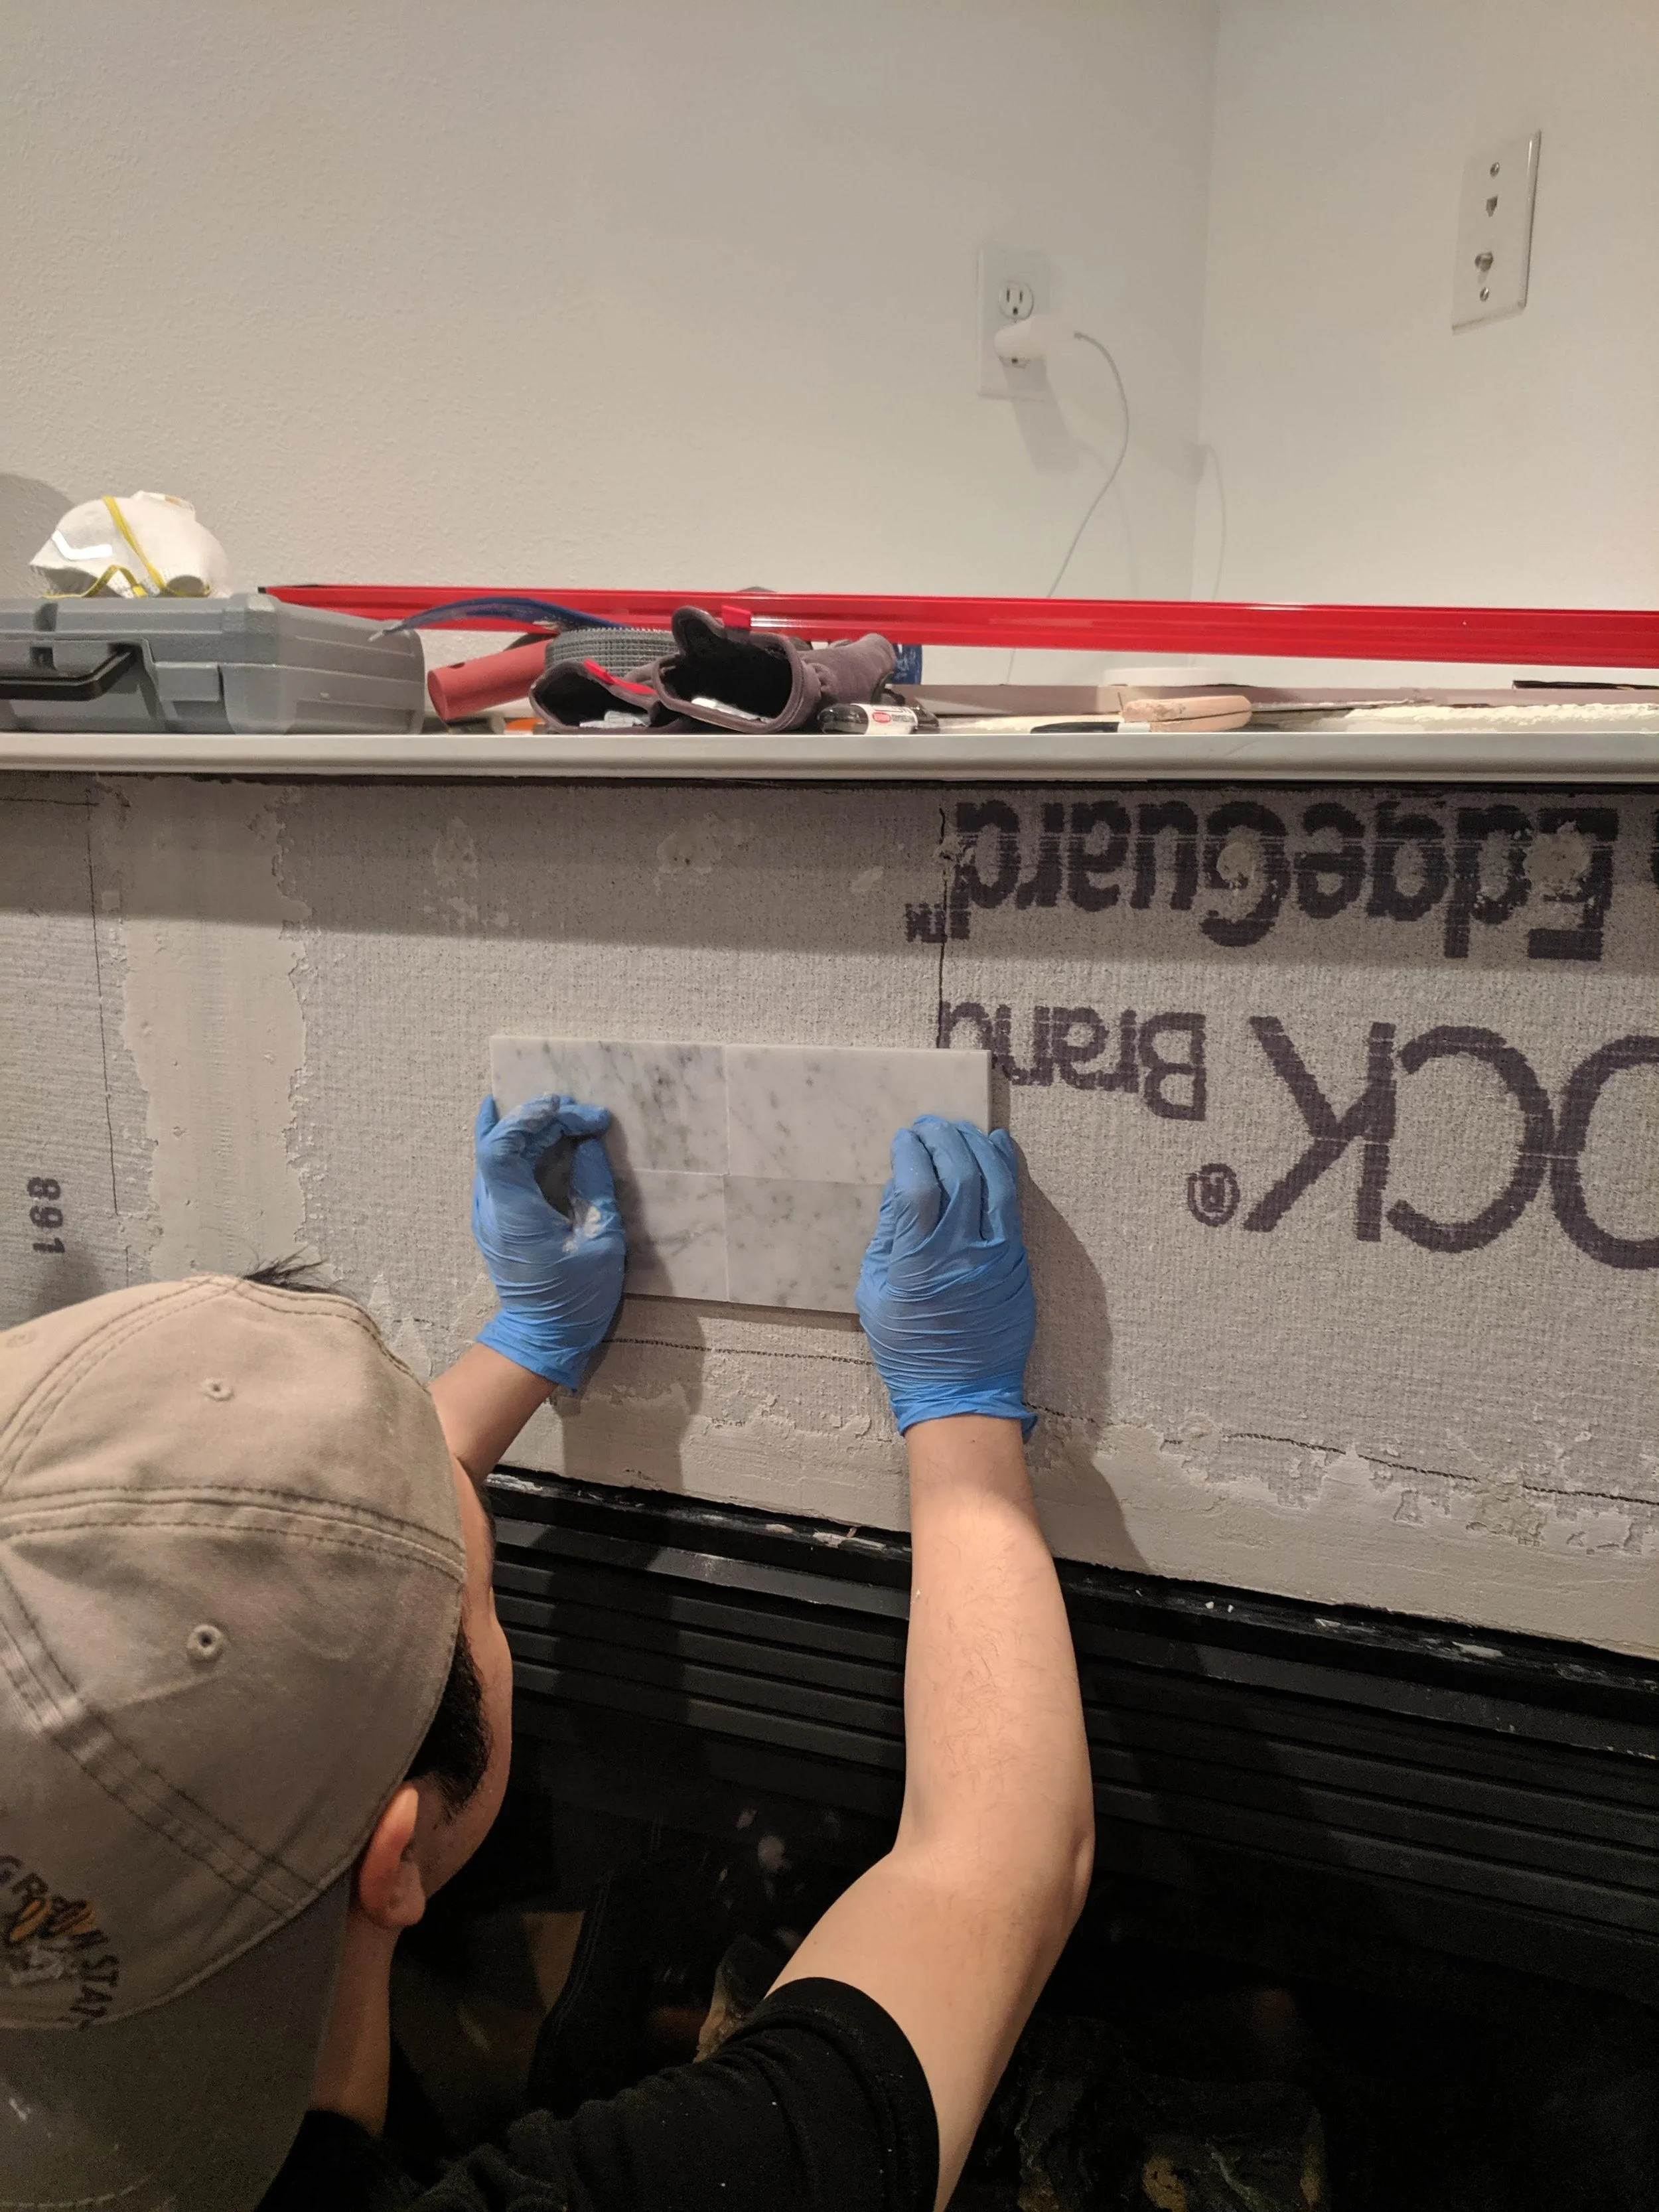
I ripped out all of the drywall and tile along the front of the fireplace. Next, I measured and cut the cement board to fit the surround dimensions. A sharp razorblade did the job nicely. I went with cement board instead of drywall since it’s considerably a stiffer and stronger substrate than drywall for the tile.
I used mesh tape and thinset to join the seams of the cement board so that it became one continuous substrate.
Install the new surround:
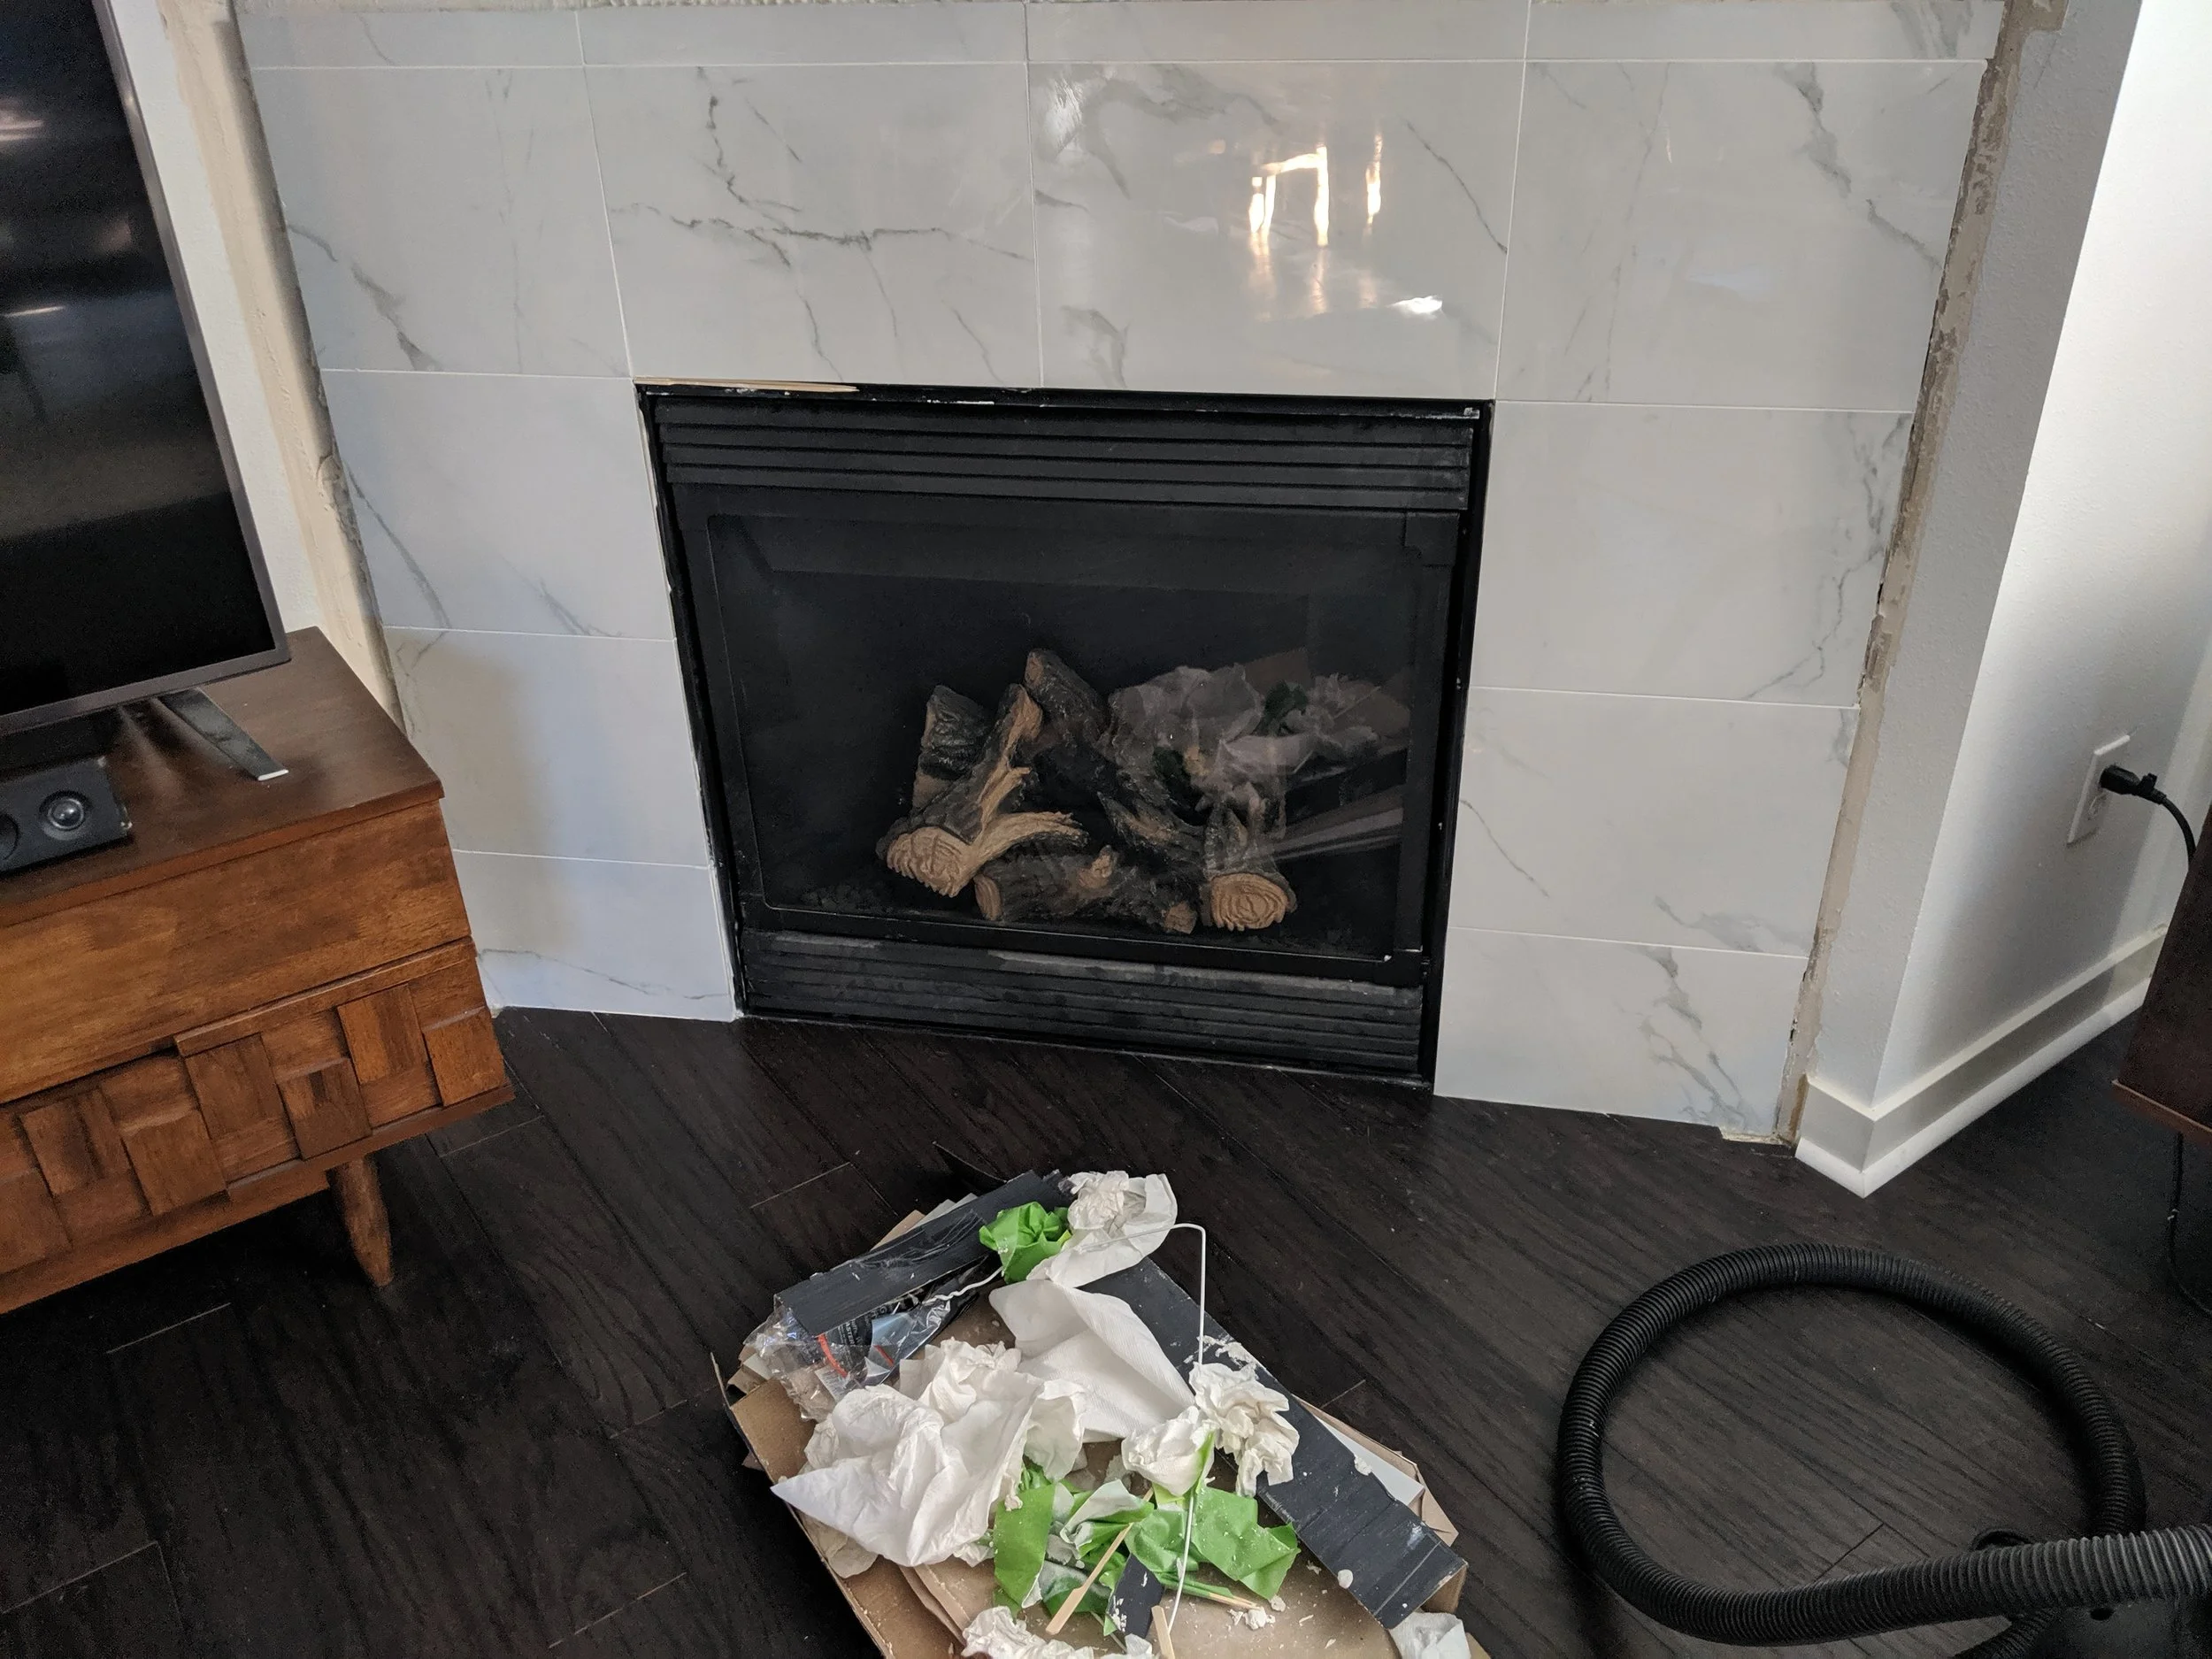
From here on out, it was pretty simple. We went with a large format marble look porcelain tile. To achieve a clean look, I kept the full tile pieces along the top of the fireplace rather than having thinner pieces with cut edges exposed. I cut the side pieces to their final width and worked my way up the fireplace.
Tip: When tiling above the fireplace or starting anywhere above the floor, you should temporarily screw a piece of wood or 2x4 so that the tile can rest on it while it dries.
Since I wanted to tile everything on the same day, I couldn’t have the support piece be in the way. I built a quick rectangle stand the exact height of the fireplace so that the tile could rest on it but the sides of the fireplace would not be blocked.
I worked my way all around until all the tile was put up, making sure to use the tile leveling system and spacers.
Tip: Using a leveling system is critical when using large format tile. For small tiles like subway tiles or small mosaic tiles that come in sheets, there is enough leeway to correct any unevenness of the surface. Large tiles aren’t forgiving and will enhance the unevenness.
The next day, I came back to grout the gaps.
Tip: Have multiple buckets of water and multiple sponges when cleaning up grout haze. Don’t press the sponge too hard or you’ll risk digging out the grout.
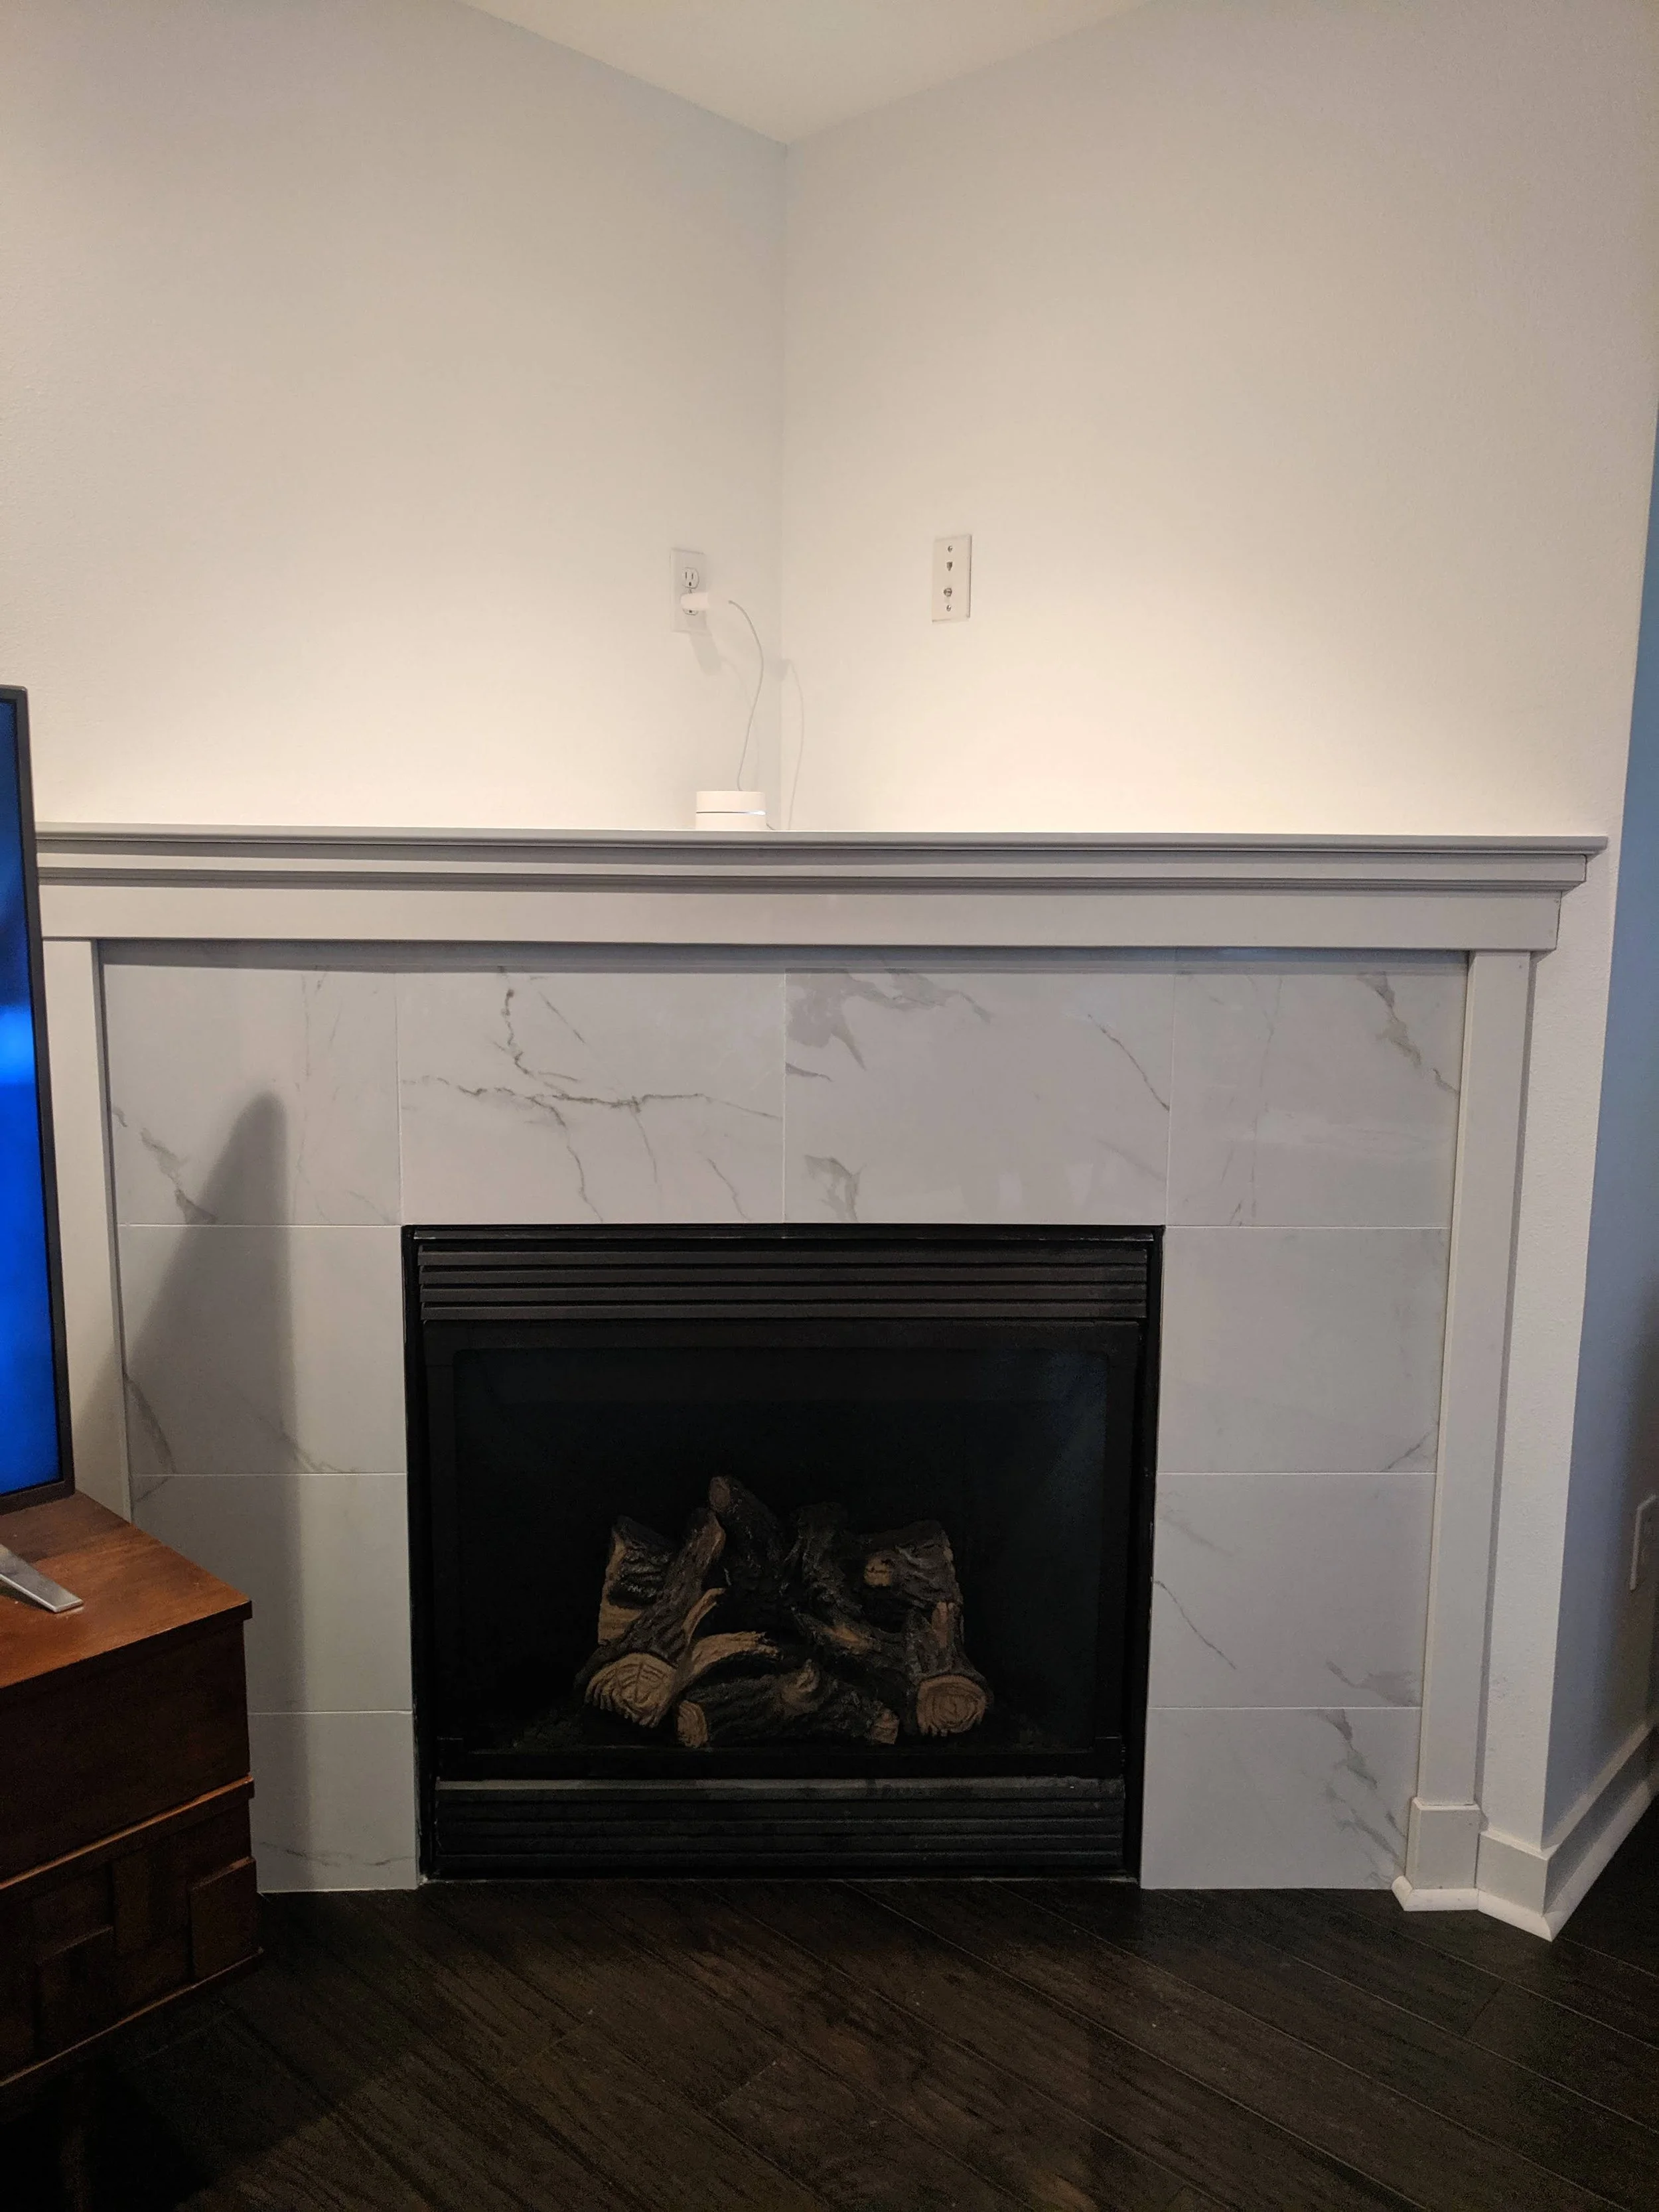
Once that was done and dry, I reinstalled the trim and the project was done! Check out the gallery below for the before and after!
Materials
Cement Board
Cement Board Screws
Pry Bar
Hammer
Wet Saw
Rubber Grout Float
Notched Trowel (notch size depends on tile size)
5-gallon Buckets
Sponges
Modified Thinset
12 in. x 24 in. White Polished Porcelain Floor and Wall Tile
White Grout
Tile Leveling System


