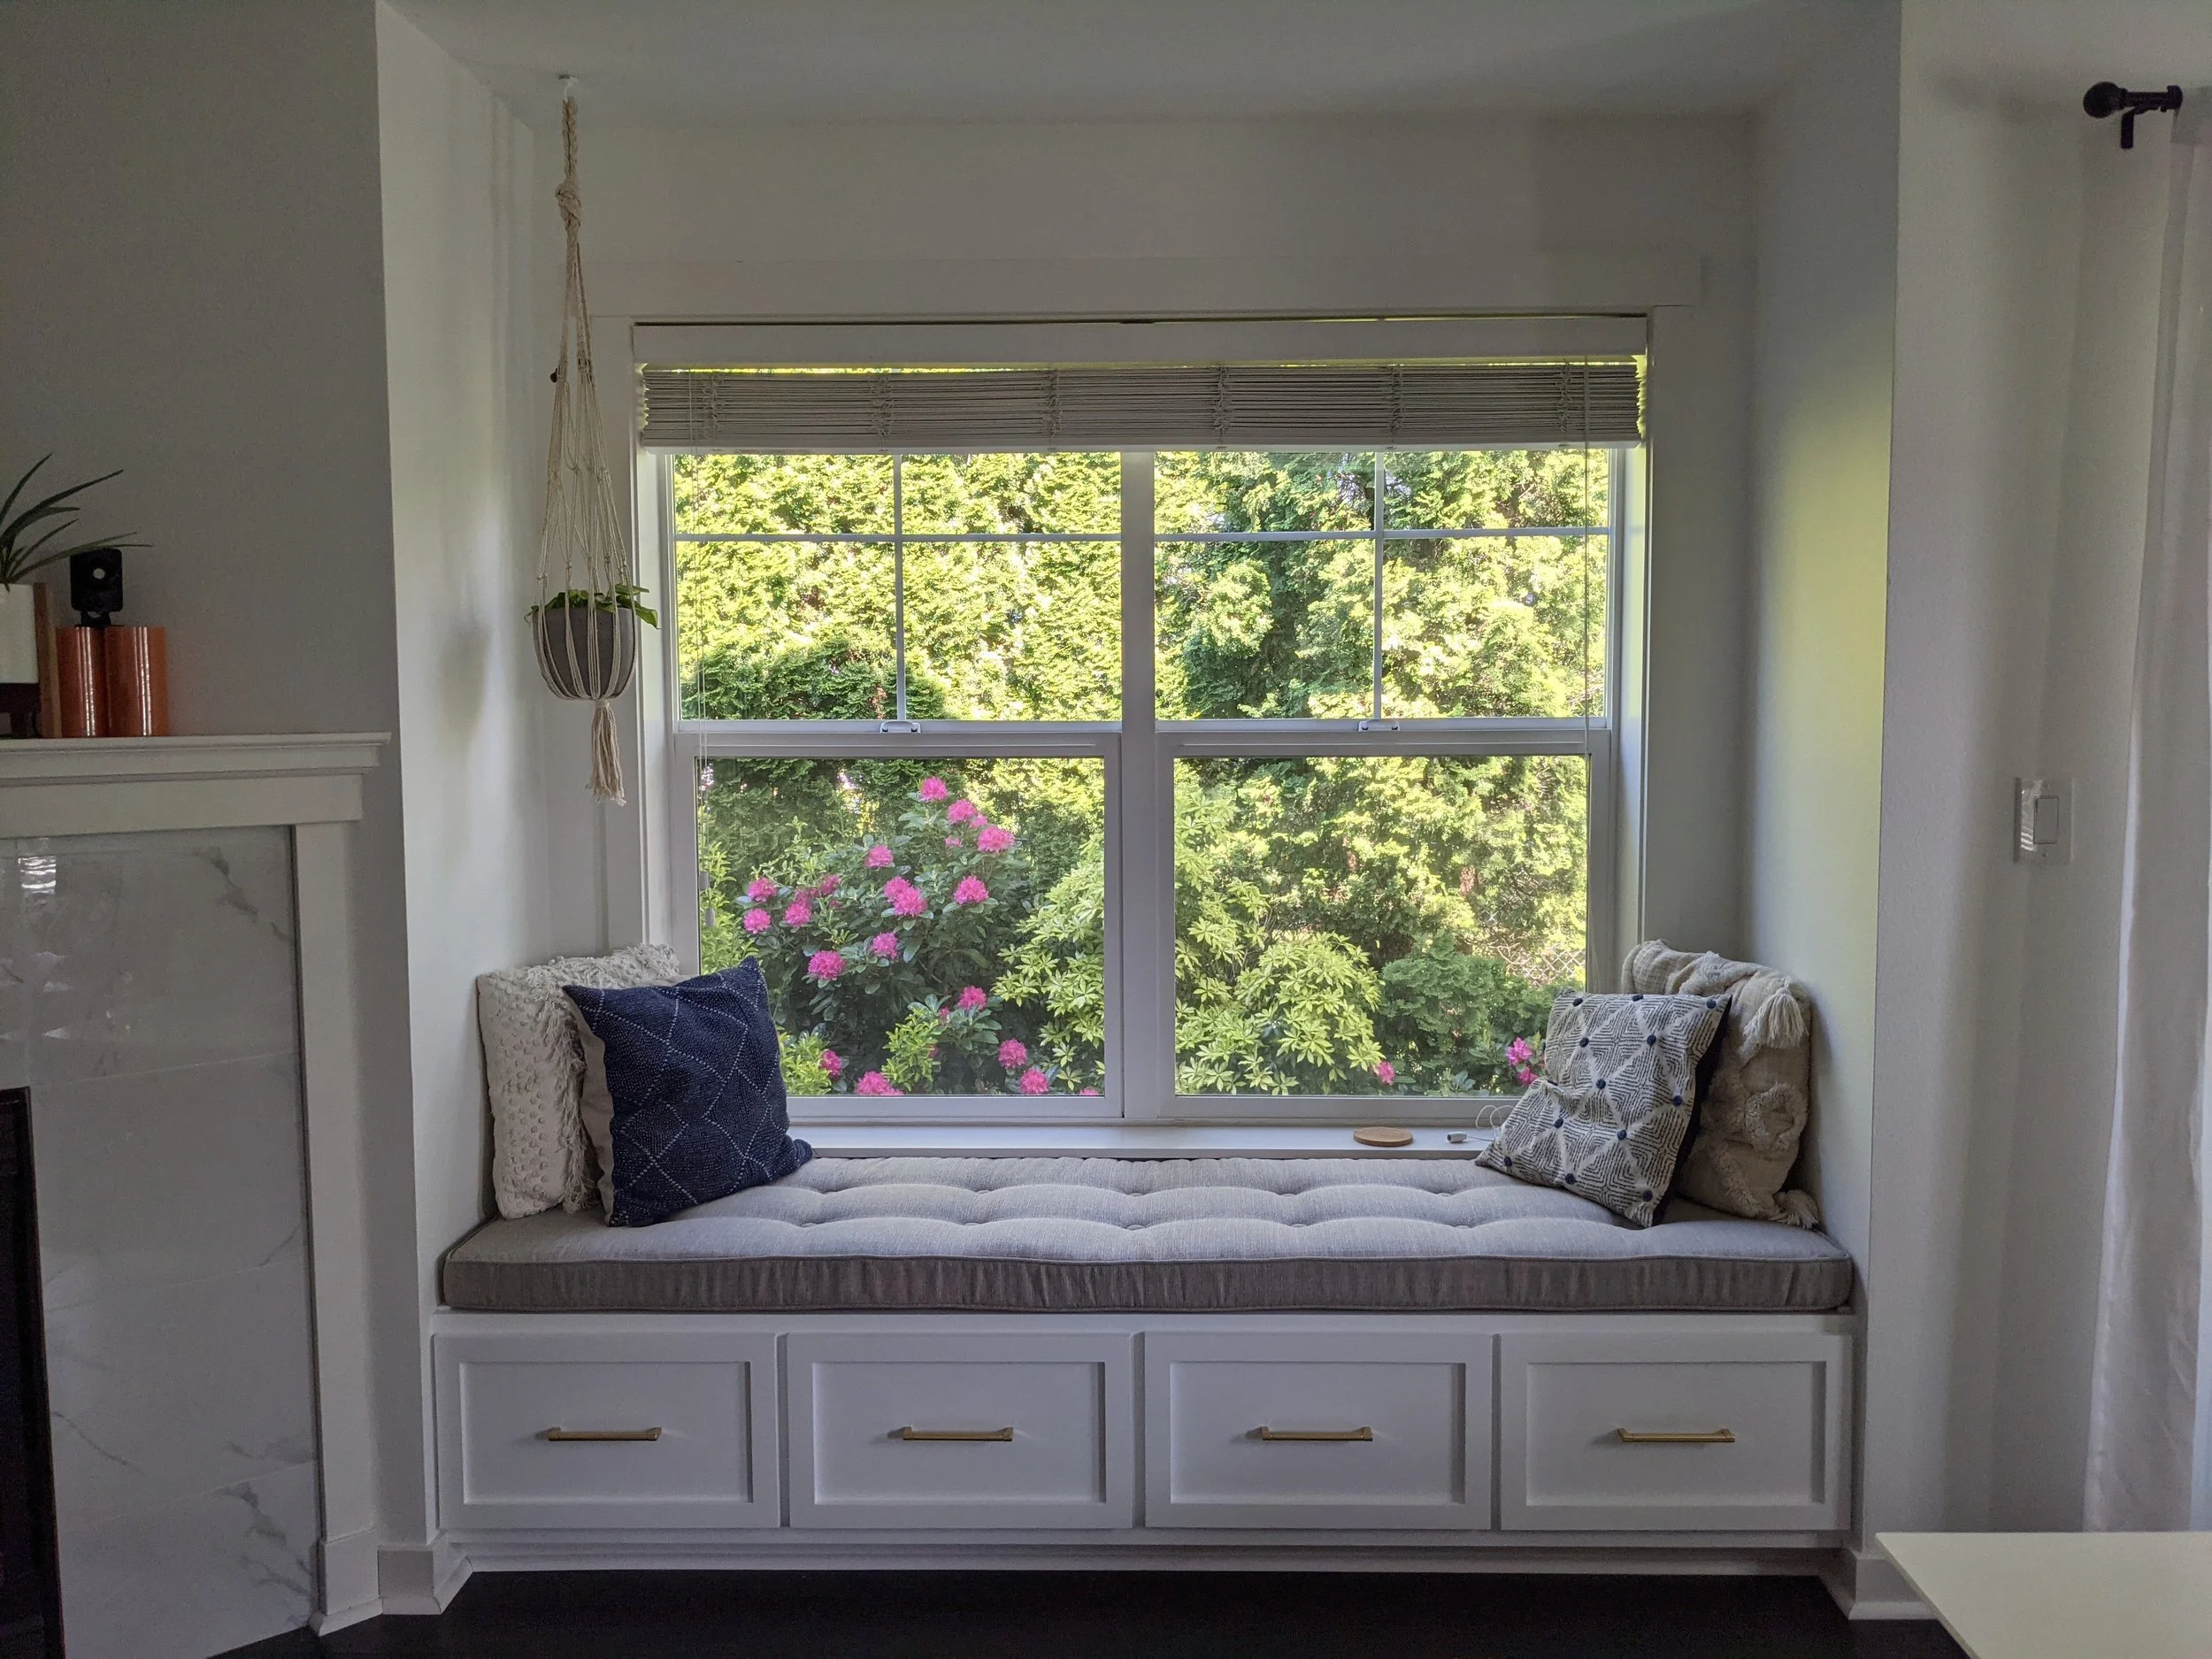
Window Seat + Storage
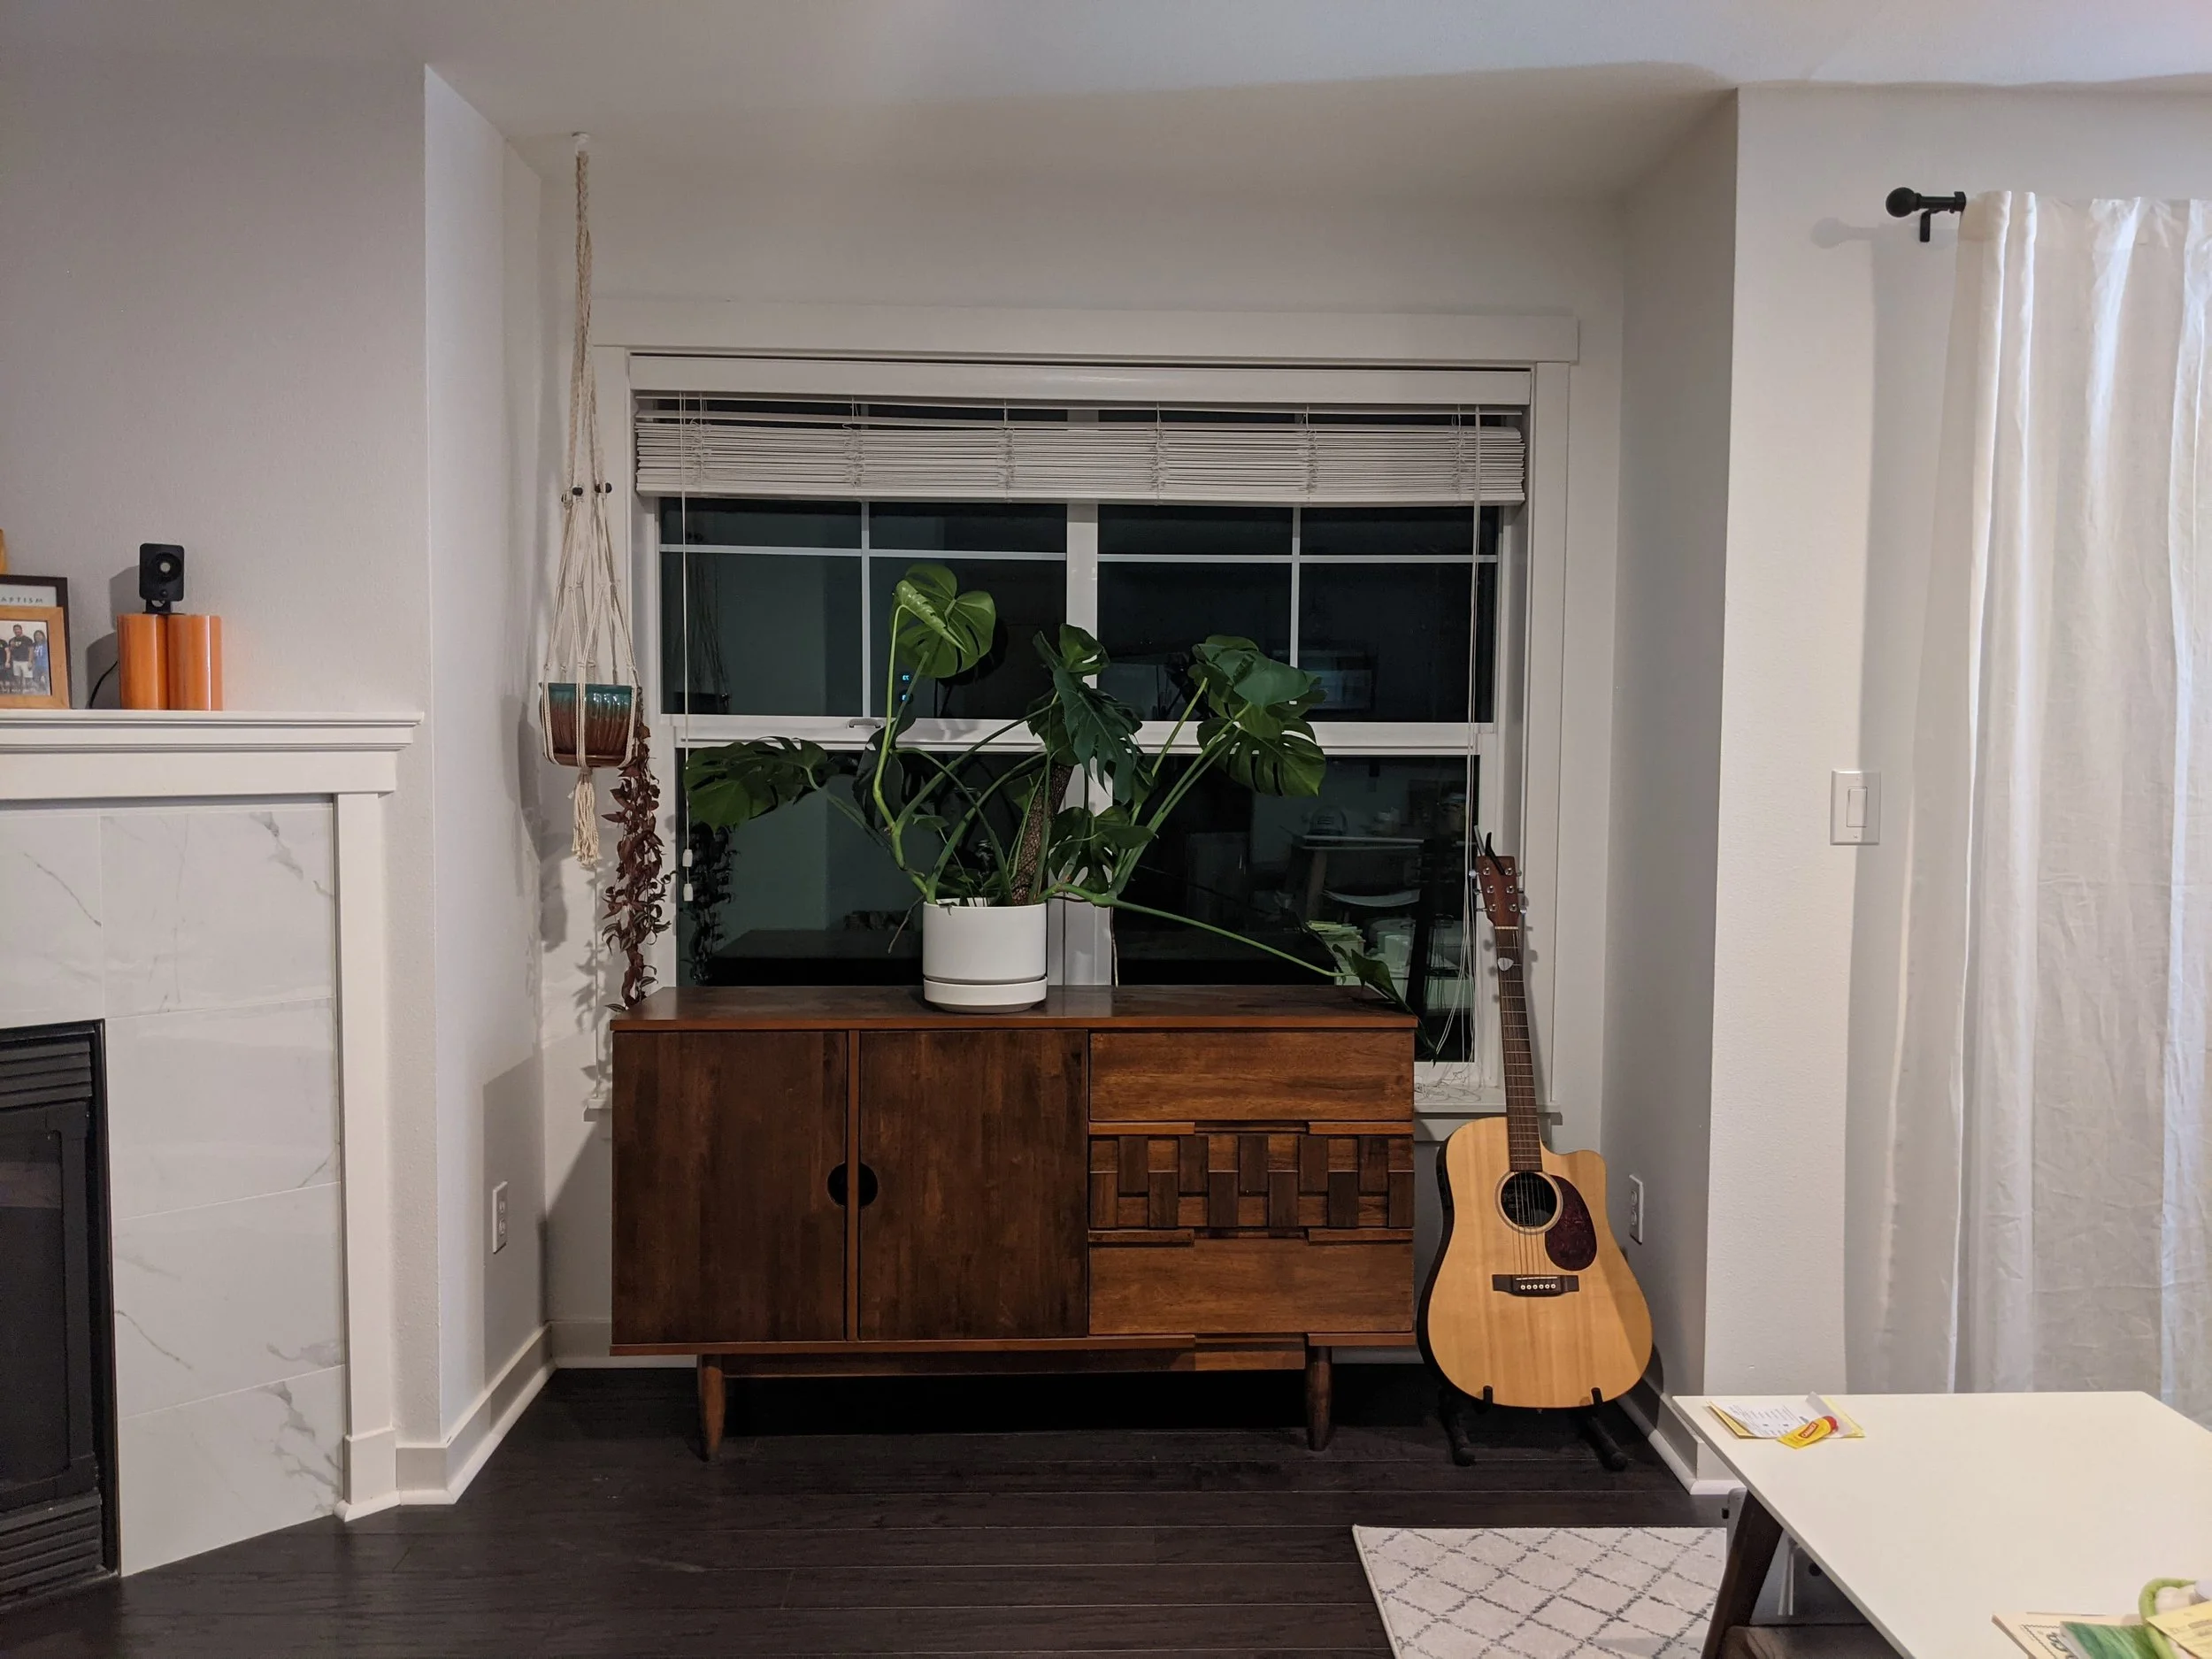
Windows are not only sources of natural light; they can also be transformed into cozy and functional spaces with the addition of a window bench. A window bench offers a unique seating area that maximizes space while providing a comfortable spot to relax, read, or enjoy the view. We had an underutilized nook where the credenza was placed. It always seemed a bit awkward and we felt that it could be better utilized. Enter window seating and we never looked back!
Utilizing the Space:
One of the greatest advantages of a window bench is its ability to make the most of often-underutilized space. A window bench can transform an awkward corner or empty alcove into a cozy and functional area. It can provide additional seating for guests during gatherings or serve as a quiet retreat for relaxation and reflection.
Choosing the Right Design:
When it comes to designing a window bench, there are some options to consider. Should the bench be freestanding or built-in? Should it have storage? What kind of storage should it have? Should it have cushions or not? No matter which direction you take it, it should complement the rest of your home.
The Build:
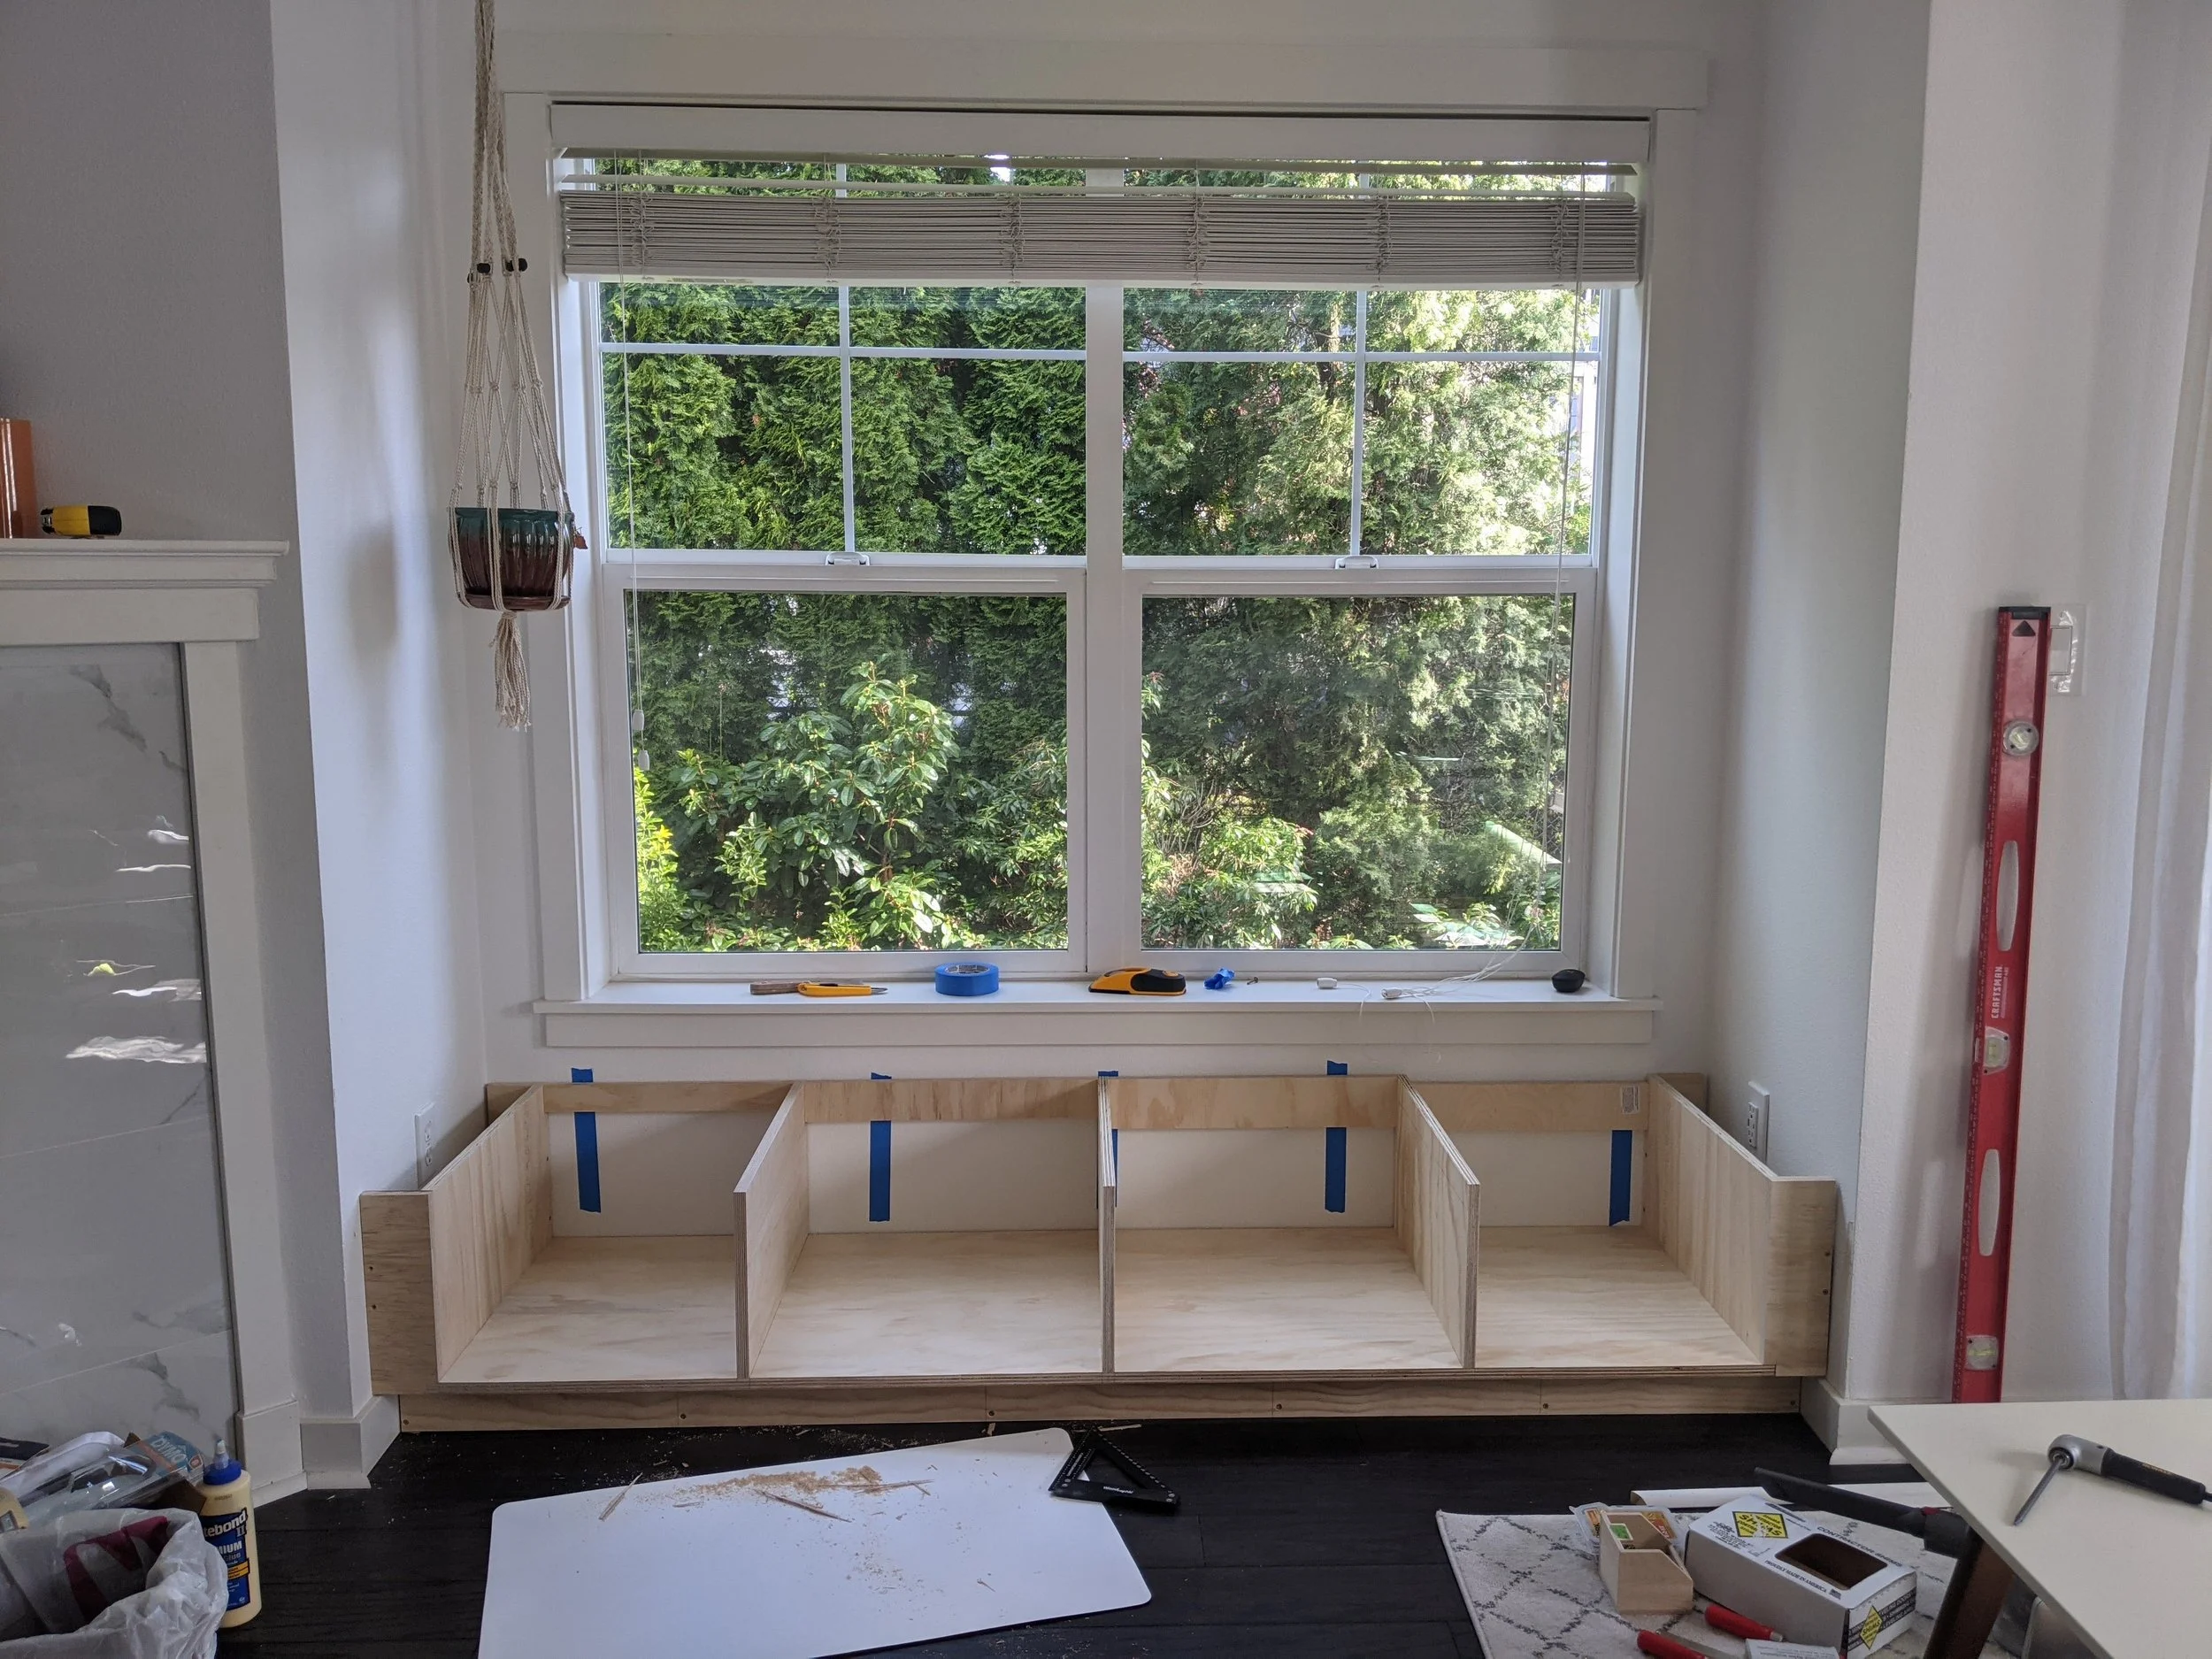
I started by removing the baseboards along the walls of the nook. Then I measured the area to get the width of my bench.
Tip: Be sure to measure the back and the front widths. Do not assume walls are straight! Often times the widths will differ and if you’re building something with tight tolerances, it will be a struggle to get it into the space.
My walls were not straight and there was a lot of variance. I adjusted the design to reduce the width of the bench and use filler panels on either side to cover the gap. This served two purposes for us: (1) make it easier to slide the bench in and not have to deal with curved walls and (2) provide access to the outlets on either of the side walls. One of the decisions we had to make was whether or not to move the outlets. We felt having exposed outlets above the bench and cushion would look awkward so we opted to keep it in place and have it hidden but accessible.
Next, I marked out the studs with tape so it would be easy to screw the unit into the walls later.
I began the construction by creating the base of the bench using the 3/4” plywood (it’s 23/32” but easier to say 3/4”). I cut the plywood into 4” strips and essentially made a giant rectangle with a couple supports in the middle. I positioned the base on the floor along the back wall of the nook. After shimming, I screwed the base into the studs.
Tip: Have some wood shims ready. No house is going to have perfectly level floors or flat walls. Throw a level on the base and use the shims to support the base where there are gaps so there is positive contact with the floor on all sides.
For the bench carcass, taking into account the gaps on either side, I picked a gap with and bench width that would make the math easy for creating 4 even fronts.
Tip: When measuring and planning for drawers, don’t forget to take into account the thickness of the plywood itself!
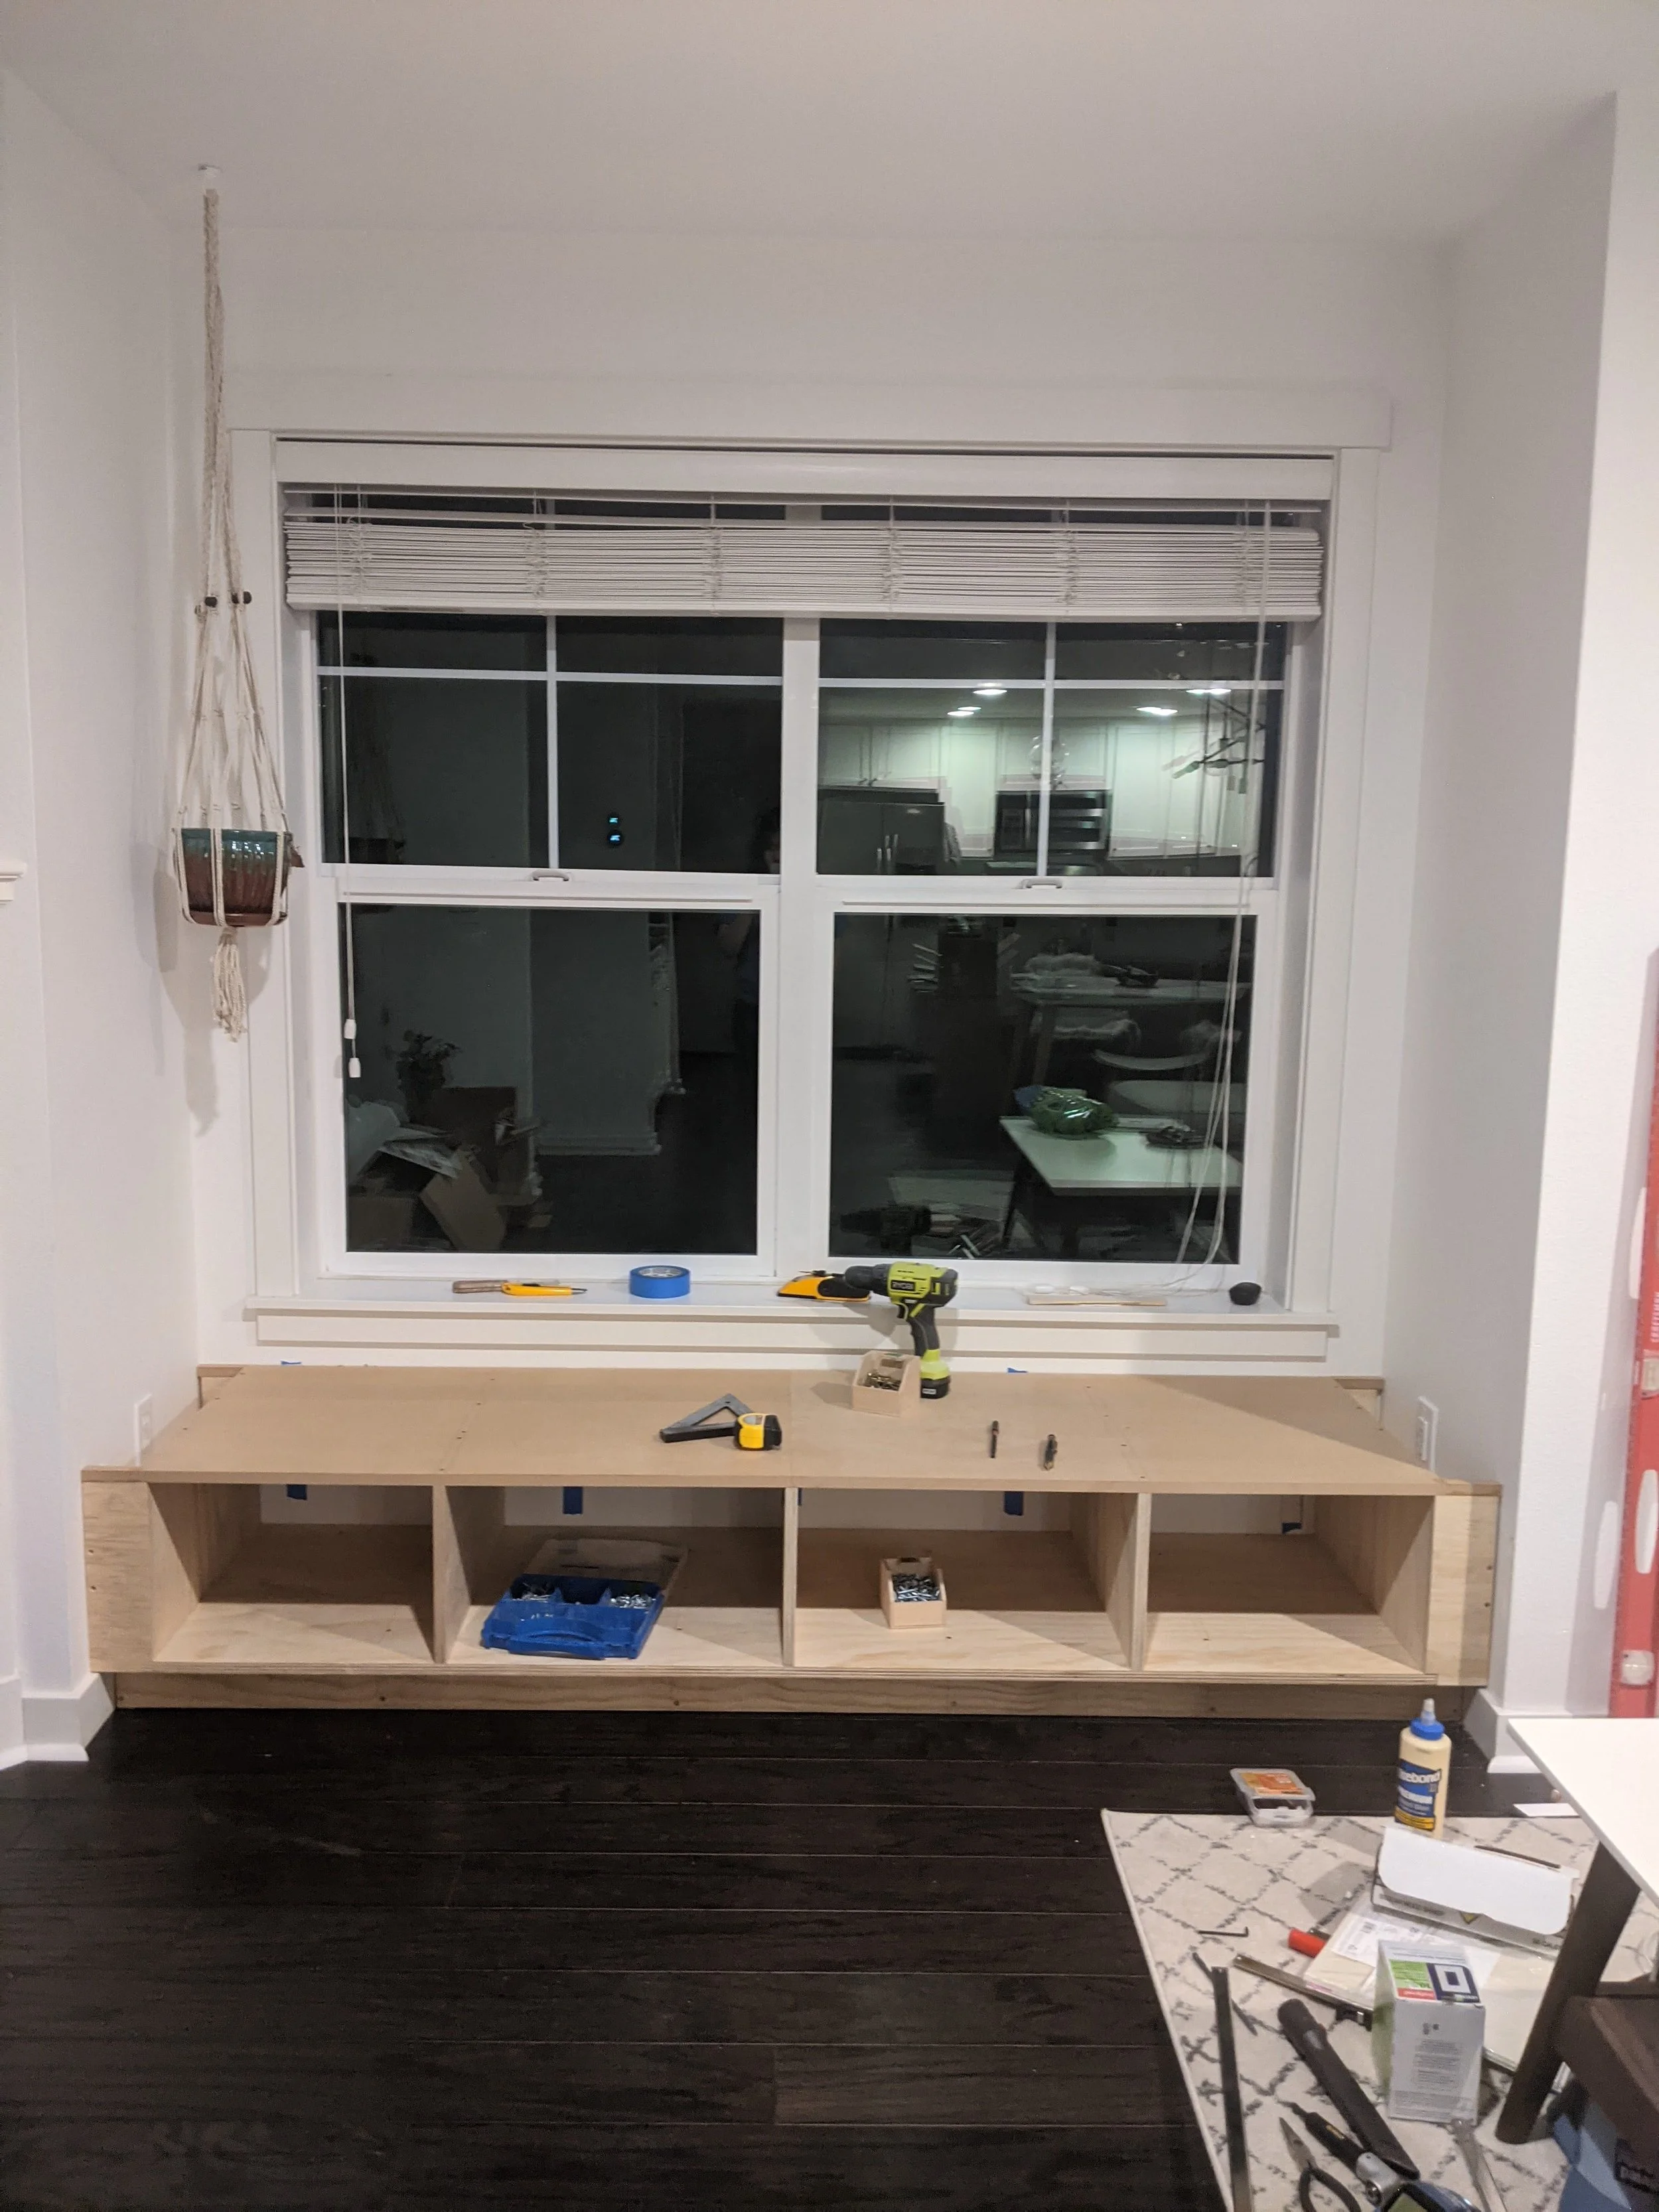
Putting together the carcass was as easy as the base. Cut the plywood based on the measurements and screw it all together. You’re essentially making a big box that is divided into multiple compartments with dividers. Remember my 4” base? I made my bench 4” longer than the base so that the two pieces together would create a toekick much like kitchen cabinets.
Tip: Whenever possible, I attach the top last because I have more room to work when attaching drawer slides.
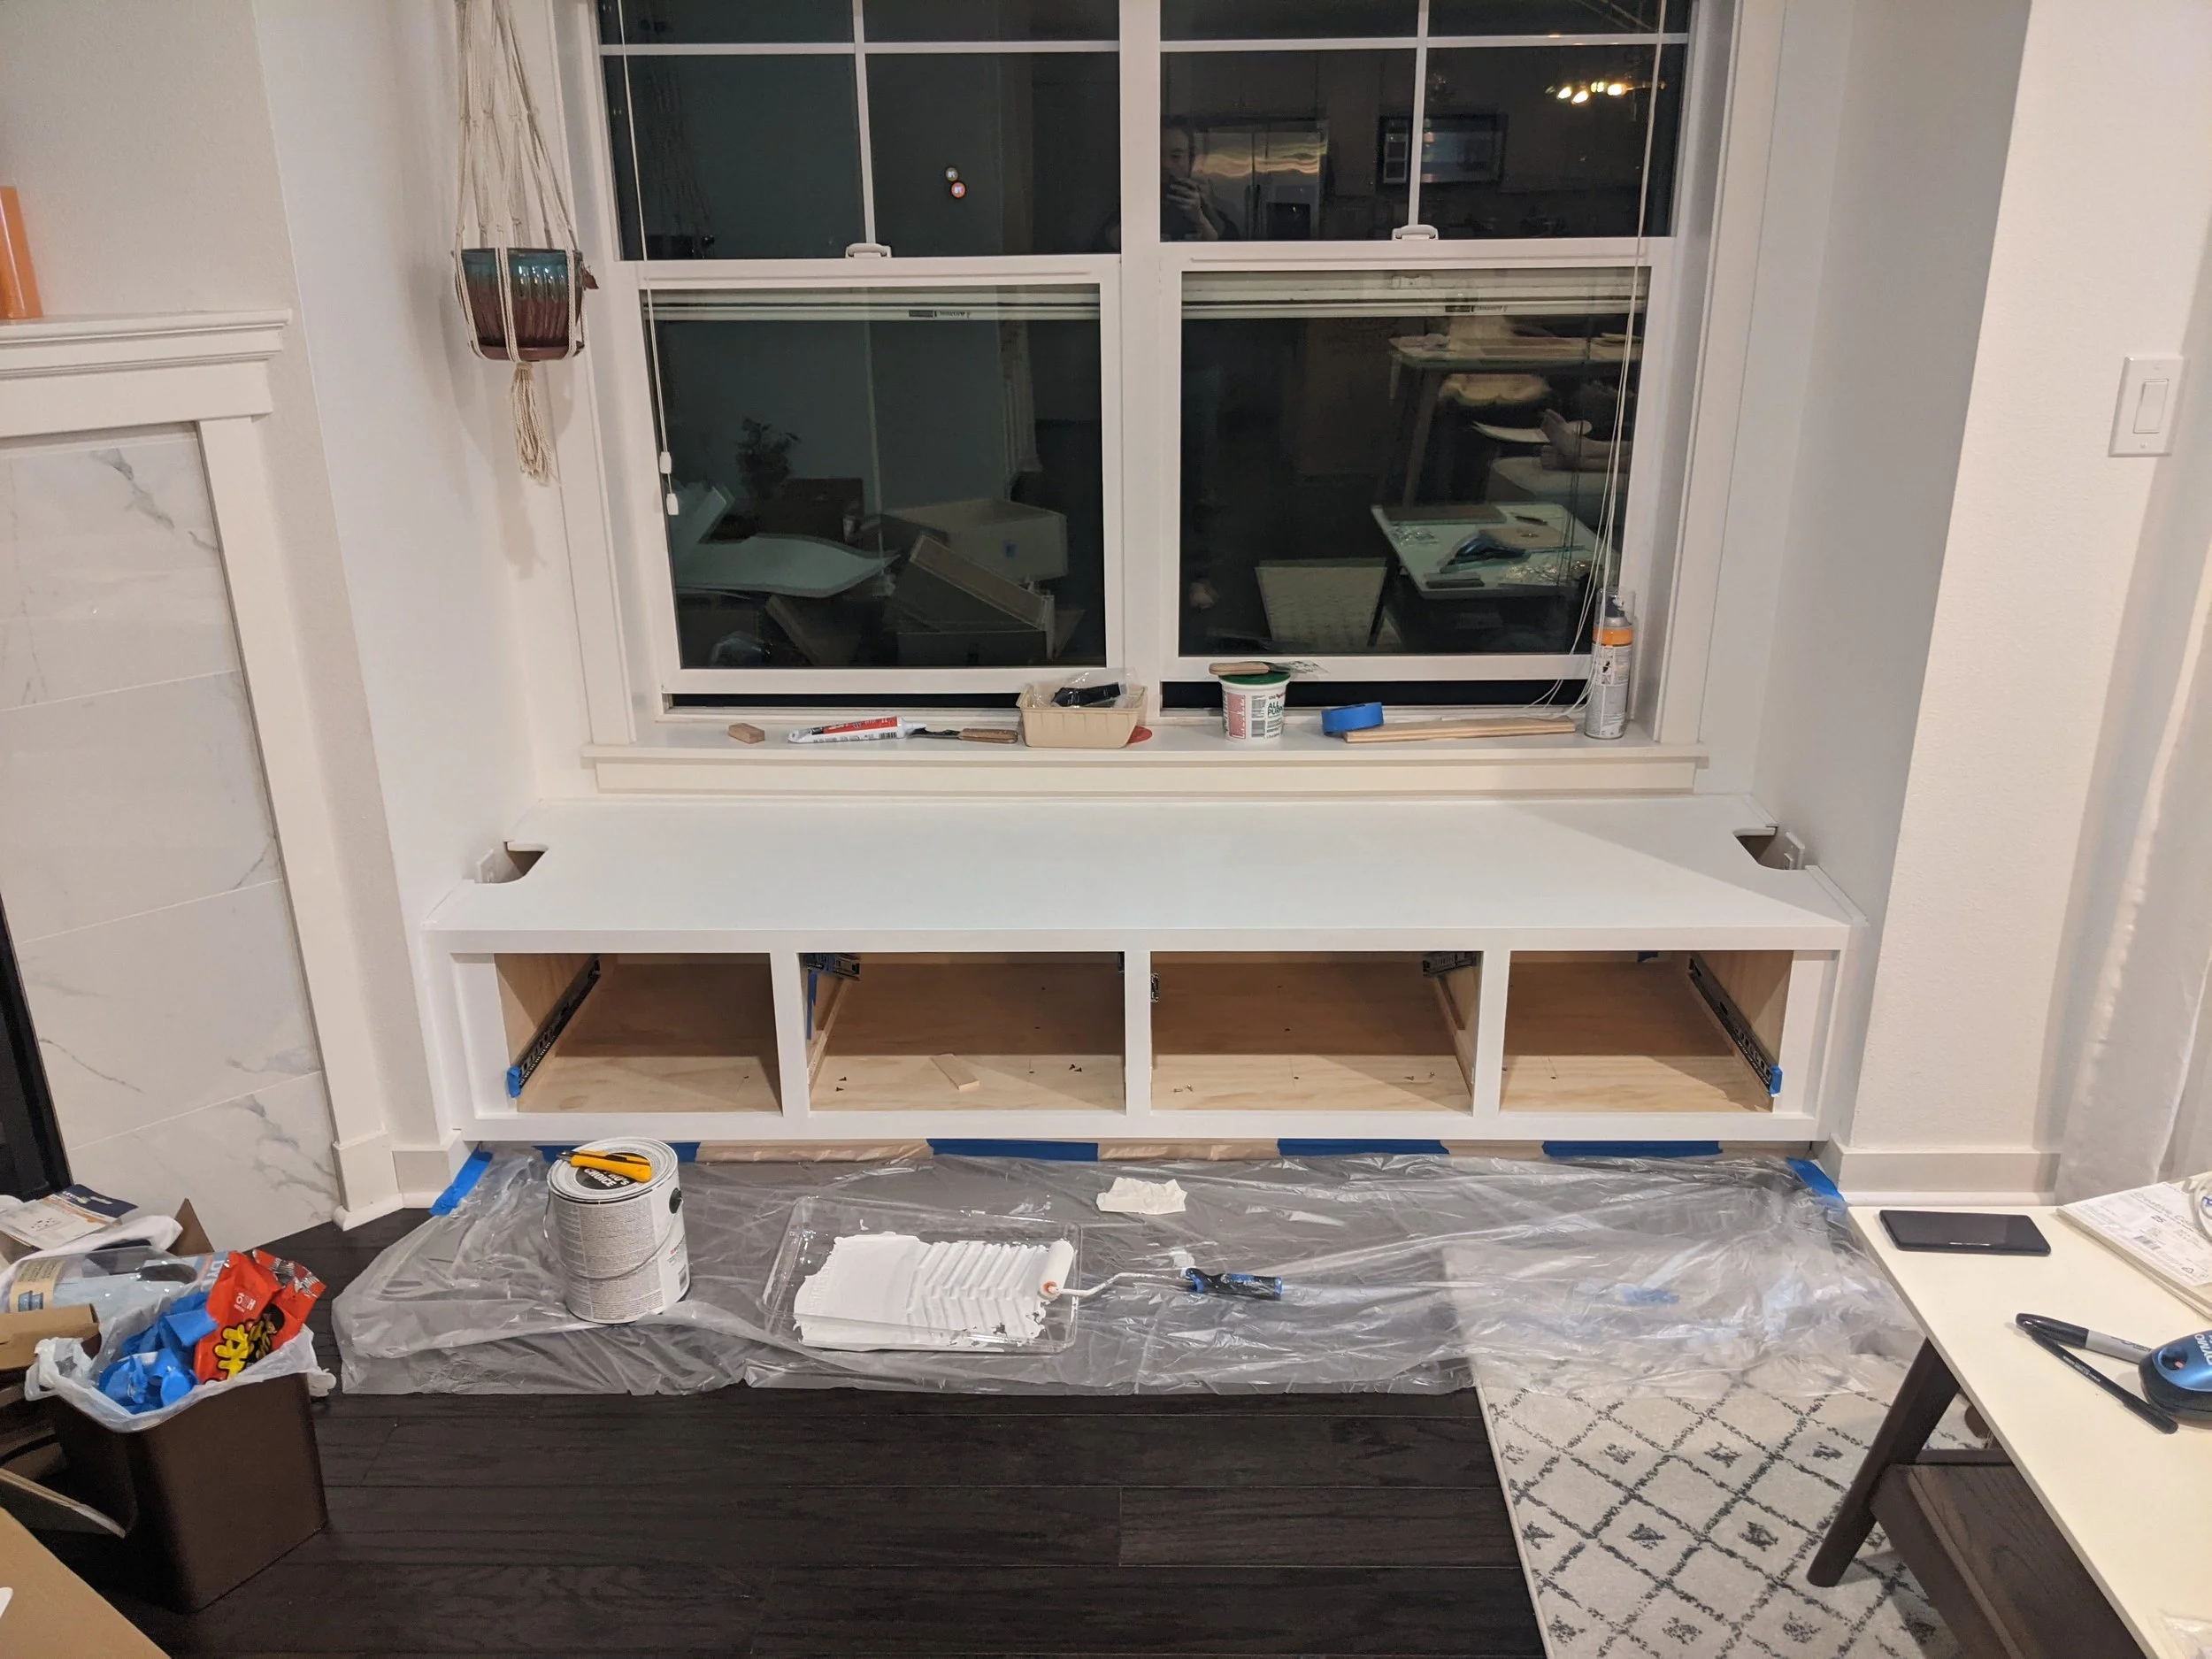
Next, I attached the top to complete the bench carcass. The sides of the top have smooth, rounded cutouts for accessing the outlets. Because my walls weren’t straight, I used some thin trim to cover the gaps between the bench and the walls. I caulked and painted the plywood.
Since this is a bench that won’t be storing anything heavy, I didn’t want to over-engineer drawer boxes. I cut out 1/2” pieces of plywood and glued and brad nailed them together to create a simple box. Attach the drawer fronts which I made from 1 1/2” Poplar boards for the frame and inset 1/2” plywood for the middle. This created that Shaker style front to match the rest of the house. Drilled holes for the drawer pulls and attached them.
The bench cushion was not something I was confident in making look as nice as it does in the photo. I searched on Etsy and found a maker to partner with and had them create the cushion to fit our space and style.
Slide the finished drawers into the bench and we’re done!
Check out the gallery for the in-progress and final result!
Materials
23/32” Radiata Pine Plywood
1/2” Plywood
1 1/2” Select Pine
18” Soft Close Drawer Slides
Rejuvenation Blair Drawer Pulls
1 1/4” Pocket Screws
2” Wood Screws
Drill & Drill Bits
Zinsser BIN Primer
Benjamin Moore Advance (Simply White in Satin Finish)
Trim/Molding of your choice to close gaps
